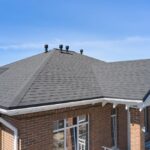
Properly installing an asphalt shingle roof is one of the most effective ways to protect your home from the elements while enhancing its curb appeal. Whether you’re a homeowner considering a new roof or a DIY enthusiast looking to tackle the project yourself, understanding the essential steps and expert recommendations can make a significant difference in the outcome. This asphalt roofing installation guide covers the key phases of the process, important materials, and professional insights to ensure your project stands the test of time.
Before diving into the installation process, it’s helpful to familiarize yourself with the different types of shingles, underlayment options, and the anatomy of a typical shingle roof. For a deeper look at the layers and protective features, check out how asphalt shingles work. This foundational knowledge will help you make informed decisions and avoid common pitfalls.
Essential Tools and Materials for Shingle Roof Installation
Gathering the right tools and materials before starting your project is crucial for efficiency and safety. Here’s a checklist of what you’ll need for a successful shingle roof installation:
- Asphalt shingles (choose from 3-tab, architectural, or luxury varieties)
- Roofing nails and hammer or pneumatic nail gun
- Roofing underlayment (felt or synthetic)
- Starter strip shingles
- Drip edge flashing
- Roofing sealant
- Utility knife and chalk line
- Roofing shovel or pry bar (for removing old shingles)
- Measuring tape and ladder
- Safety gear: gloves, harness, and non-slip shoes
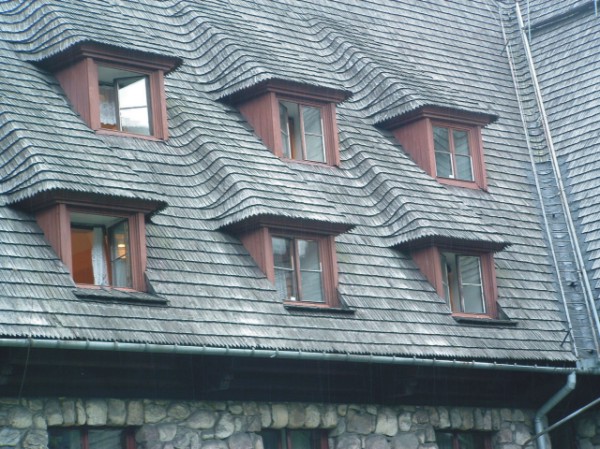
For those interested in the different shingle options, explore the types of asphalt shingles to find the best match for your roof’s style and durability needs.
Preparing the Roof Deck: Inspection and Repairs
Before installing new shingles, it’s essential to inspect the roof deck for any signs of damage, rot, or warping. Remove all old roofing materials, including nails and underlayment, to expose the bare wood. Replace any compromised decking to ensure a solid foundation for your new roof.
Once the deck is clean and dry, install drip edge flashing along the eaves and rakes. This metal strip helps direct water away from the fascia and prevents wind-driven rain from getting under the shingles. Proper preparation at this stage is key to a long-lasting, leak-free roof.
Installing Underlayment and Starter Strips
With the deck prepared, the next step in this asphalt roofing installation guide is to roll out the underlayment. Begin at the eaves and work your way up the slope, overlapping each row by at least two inches. Secure the underlayment with cap nails or staples, ensuring it lies flat without wrinkles or gaps.
Starter strip shingles are installed along the eaves to provide extra protection against wind and water infiltration. These strips also help the first course of shingles adhere properly and create a straight edge for the rest of the installation.
If you’re considering tackling the project yourself, our DIY asphalt shingle roof resource offers practical tips and safety advice for homeowners.
Laying Asphalt Shingles: Step-by-Step Process
Proper shingle placement and nailing are critical for a watertight and wind-resistant roof. Here’s a breakdown of the main steps:
- Snap horizontal chalk lines to keep rows straight and evenly spaced.
- Begin with the first course of shingles at the lower edge, overlapping the starter strip.
- Stagger shingle joints in each row to prevent water infiltration.
- Use the correct number of nails per shingle (typically four, or six in high-wind areas), placed just below the adhesive strip.
- Continue up the roof, maintaining consistent overlap and alignment.
- Install ridge cap shingles along hips and ridges for a finished look and added protection.
For a comprehensive breakdown of each phase, refer to the asphalt shingle roof installation guide, which covers detailed techniques and troubleshooting tips.
Expert Tips for a Durable and Attractive Roof
To ensure your new roof performs well for decades, consider these professional recommendations:
- Ventilation: Proper attic ventilation prevents heat and moisture buildup, which can damage shingles and reduce their lifespan.
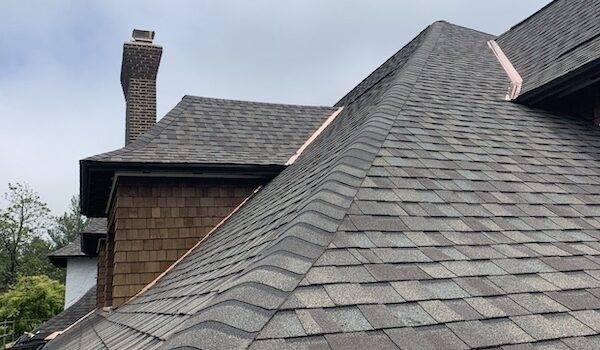
- Flashing: Pay special attention to valleys, chimneys, and skylights. Use high-quality flashing and sealant to prevent leaks in these vulnerable areas.
- Weather Considerations: Install shingles in mild, dry weather. Extreme temperatures can affect shingle flexibility and adhesion.
- Quality Materials: Invest in reputable brands and products. For more on what makes up a shingle roof, see what is asphalt shingle roofing.
- Regular Maintenance: Inspect your roof annually and after severe storms. Promptly address any damaged or missing shingles.
Following these guidelines will help you avoid common mistakes and maximize the value of your investment.
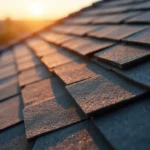
Understanding Asphalt Shingles and Their Benefits
Asphalt shingles remain the most popular roofing material in North America due to their affordability, versatility, and ease of installation. They come in a variety of colors and styles, making it easy to match your home’s aesthetic. For a detailed overview of their composition and performance, visit this comprehensive asphalt shingle resource.
Some key advantages include:
- Cost-effectiveness: Asphalt shingles offer a balance of durability and affordability.
- Simple repairs: Damaged shingles can be replaced individually without disturbing the rest of the roof.
- Fire and wind resistance: Modern shingles are engineered to withstand harsh weather and meet safety standards.
- Low maintenance: With proper installation and care, asphalt shingle roofs require minimal upkeep.
Frequently Asked Questions
How long does an asphalt shingle roof typically last?
Most asphalt shingle roofs last between 20 and 30 years, depending on the quality of materials, installation practices, and local climate. Regular inspections and prompt repairs can help extend the lifespan of your roof.
Can I install asphalt shingles over an existing roof?
While it is possible to install new shingles over one layer of existing shingles in some areas, it’s generally recommended to remove the old roofing material first. This allows for a thorough inspection of the deck and ensures a smoother, longer-lasting installation.
What are the most common mistakes to avoid during installation?
Common errors include improper nailing, inadequate ventilation, skipping underlayment, and poor flashing around roof penetrations. Following a detailed asphalt roofing installation guide and using quality materials can help prevent these issues.
Do I need professional help or can I do it myself?
Many homeowners with basic carpentry skills can install asphalt shingles themselves, especially on simple roof designs. However, complex roofs or those with steep pitches may require professional expertise. For more on self-installation, see our DIY asphalt shingle roof guide.
By following the steps and expert tips outlined above, you’ll be well-equipped to achieve a reliable, attractive, and weather-resistant roof that will protect your home for years to come.