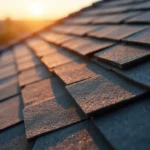
Properly installing roof shingles is essential for long-lasting weather protection and curb appeal. Whether you’re a homeowner planning to tackle a roofing project or simply want to understand the process, knowing the roof shingle installation steps from start to finish can help you achieve durable, professional results. This guide covers every phase, from preparing the deck to securing the final ridge cap, including material selection, underlayment, and shingle alignment.
Understanding the structure and function of asphalt shingles is also valuable before starting. For a deeper dive into their composition and protective layers, see how asphalt shingles work.

Preparation: Setting the Stage for Success
Before any shingles are installed, thorough preparation ensures a smooth process and lasting results. Here’s what to address before laying down the first shingle:
- Remove Old Roofing: Strip away all existing shingles, nails, and underlayment. Inspect the wood decking for rot or damage and replace any compromised sections.
- Clean and Inspect Decking: Sweep the deck clean and check for protruding nails or debris. A flat, solid surface is critical for proper shingle adhesion.
- Install Drip Edge: Attach metal drip edge flashing along the eaves and rakes to direct water away from the fascia and prevent leaks.
- Gather Materials: Have all necessary supplies on hand, including starter shingles, underlayment, nails, sealant, and safety equipment.
For more on the different types of shingles you might use, explore types of asphalt shingles for a comparison of 3-tab, architectural, and luxury options.
Underlayment and Starter Course Installation
The next phase in the roof shingle installation steps involves creating a waterproof barrier and establishing a solid base for the shingles:
- Install Underlayment: Roll out roofing felt or synthetic underlayment horizontally, starting at the eaves and working upward. Overlap each row by at least 2 inches and fasten securely with cap nails or staples.
- Ice and Water Shield: In colder climates or valleys, apply an ice and water shield membrane to prevent leaks caused by ice dams and wind-driven rain.
- Starter Strip: Place a starter shingle strip along the eaves. This prevents water infiltration at the roof edge and provides a straight line for the first course of shingles.
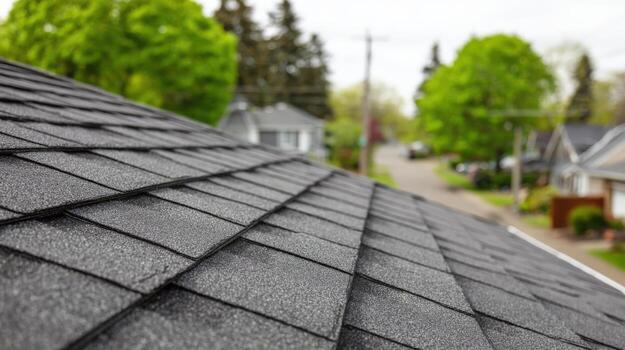
Laying Shingles: Main Courses and Alignment
With the base layers in place, it’s time to install the main field of shingles. This stage requires attention to detail for both appearance and weather resistance:
- First Course: Begin at the lower edge of the roof, aligning the first row of shingles with the starter strip. Overhang the eave by about 1/4 to 3/8 inch for water runoff.
- Stagger Joints: Offset each new row so that the joints between shingles do not line up with those below. This prevents leaks and strengthens the overall structure.
- Nailing: Use roofing nails as specified by the manufacturer, typically four to six per shingle. Place nails just below the adhesive strip and avoid overdriving them.
- Continue Upward: Work your way up the roof, maintaining straight lines and consistent exposure (the visible portion of each shingle).
For a comprehensive overview of asphalt roofing, including performance and design options, see the asphalt roof overview.
Flashing, Valleys, and Penetrations
Special attention is needed around roof features such as valleys, chimneys, and vents. These areas are prone to leaks if not properly sealed:
- Valley Installation: Use metal valley flashing or woven shingle techniques to direct water off the roof. Overlap shingles carefully and use extra sealant where needed.
- Step Flashing: Around chimneys and walls, install step flashing with each course of shingles. This creates a watertight barrier at vertical transitions.
- Vent and Pipe Boots: Place flashing collars over vent pipes and secure them with nails and roofing sealant to prevent water entry.
For more on what makes asphalt shingles an effective roofing material, check out what is asphalt shingle roofing for a detailed explanation.
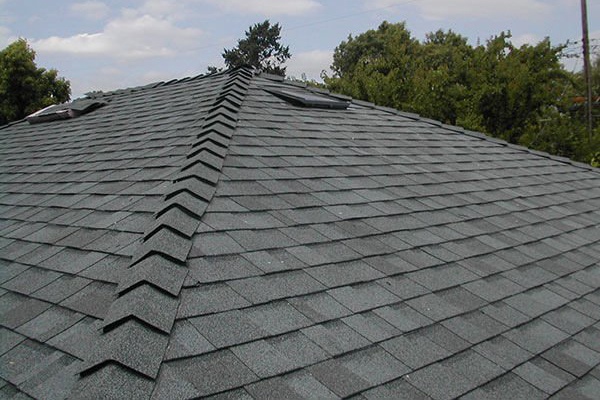
Ridge Cap and Final Touches
The last of the roof shingle installation steps involves finishing the roof’s peak and ensuring all details are watertight:
- Install Ridge Cap Shingles: Special ridge cap shingles or cut three-tab shingles are laid over the roof’s peak. Overlap each piece and nail securely, covering all exposed fasteners with roofing sealant.
- Seal Exposed Nails: Apply a dab of sealant to any exposed nail heads, especially on the ridge and around flashing, to prevent water intrusion.
- Clean Up: Remove all debris, stray nails, and packaging. Inspect the roof for missed spots or misaligned shingles.
Proper ventilation is also critical for roof longevity. Make sure ridge vents or other exhaust systems are clear and installed according to manufacturer guidelines.
Material Selection and Quality Considerations
Choosing the right materials is just as important as following the correct installation sequence. Opt for high-quality shingles that suit your climate and budget. For insights into what goes into asphalt shingles and why it matters, review this detailed breakdown of asphalt shingle composition.
Always use compatible sealants and fasteners to avoid premature failure. If you’re interested in the latest advancements, innovations in solar roofing are also transforming the industry—see innovations in solar roofing for more information.
Common Mistakes to Avoid
Even experienced installers can make errors that compromise a roof’s performance. Here are some pitfalls to watch for:
- Improper nailing (overdriven or underdriven nails)
- Insufficient underlayment or missing ice and water shield in vulnerable areas
- Misaligned shingles or inconsistent exposure
- Neglecting to stagger joints or properly flash valleys and penetrations
- Skipping the final inspection for loose shingles or exposed fasteners
By following each step carefully and using the right materials, you’ll ensure a roof that stands up to the elements for years to come.
Frequently Asked Questions
How long does it take to install asphalt shingles on a typical home?
For an average-sized single-family home, professional crews can usually complete the job in one to three days, depending on roof complexity and weather. DIY projects may take longer, especially for those new to roofing.
What tools are essential for shingle installation?
Basic tools include a roofing hammer or nail gun, utility knife, chalk line, pry bar, ladder, safety harness, and tape measure. Specialized tools like a shingle remover or magnetic nail sweeper can speed up the process and improve safety.
Can I install new shingles over old ones?
While some building codes allow a second layer of shingles, it’s generally best to remove old roofing to inspect the deck and ensure a flat, secure surface. Overlaying can hide problems and reduce the lifespan of the new shingles.