Taking on a DIY asphalt shingle roof project is a significant decision for any homeowner. Asphalt shingles are among the most popular roofing materials in North America, known for their affordability, durability, and ease of installation compared to other options. But is this a job you can truly handle on your own, or are there hidden complexities that make professional installation the smarter choice?
This article explores the essential steps, tools, and safety considerations involved in installing asphalt shingles yourself. You’ll learn about the advantages and challenges of tackling this project, what to expect during the process, and how to determine if it’s the right fit for your skills and resources. For a deeper understanding of how these shingles protect your home, you might also want to check out how asphalt shingles work for a technical breakdown of their layers and protective features.
Understanding Asphalt Shingle Roofing for DIY Projects
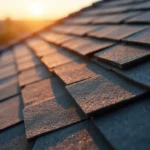
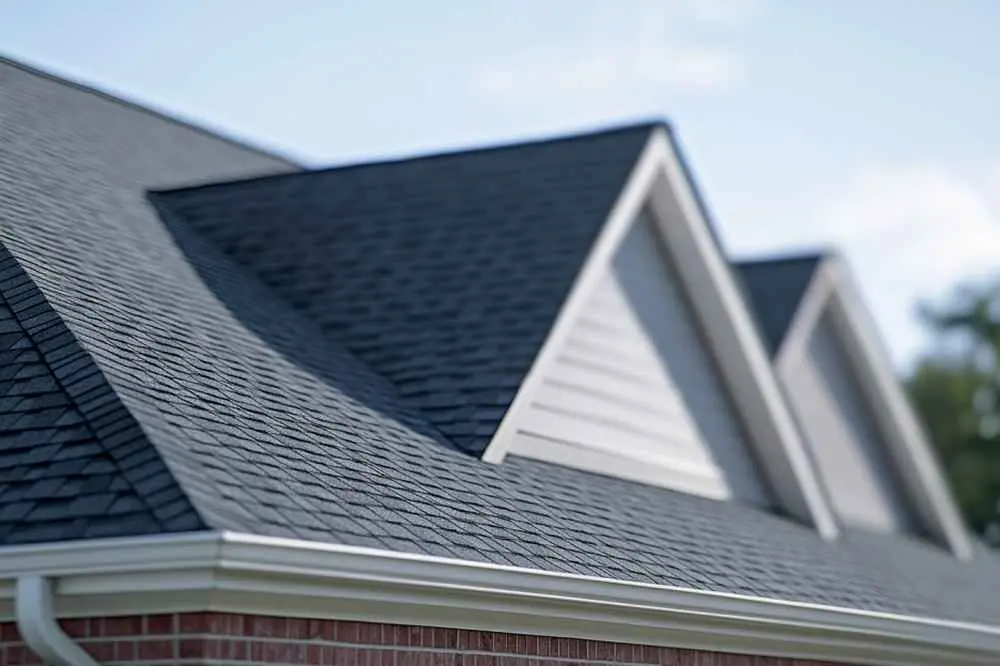
Before starting any roofing project, it’s important to understand what asphalt shingles are and why they’re a common choice for do-it-yourselfers. These shingles are made from a fiberglass or organic mat coated with asphalt and topped with ceramic granules. Their layered design offers weather resistance and a range of style options. If you’re curious about the different varieties available, see this guide on types of asphalt shingles for a breakdown of 3-tab, architectural, and luxury shingles.
Many homeowners choose asphalt shingles for their relatively straightforward installation process and cost-effectiveness. However, even with these advantages, a DIY asphalt shingle roof installation requires careful planning, the right tools, and a solid understanding of roofing techniques.
Essential Tools and Materials for a DIY Roof
Gathering the correct tools and materials is the first step in any successful roofing project. Here’s a list of what you’ll typically need:
- Roofing shingles (choose the style and color that fits your home)
- Roofing nails and a hammer or pneumatic nail gun
- Roofing felt or underlayment
- Roofing sealant and flashing
- Utility knife, chalk line, tape measure, and pry bar
- Roof harness, sturdy ladder, and safety gear (gloves, goggles, non-slip shoes)
Quality materials and safety equipment are non-negotiable. Investing in the right supplies will not only make the job easier but also help ensure your new roof lasts for years.

Step-by-Step Guide to Installing Asphalt Shingles Yourself
Installing a DIY asphalt shingle roof involves several key steps. While each roof is unique, the general process includes:
- Removing Old Roofing: Strip away old shingles and underlayment. Inspect the decking for damage and repair as needed.
- Installing Underlayment: Lay down roofing felt or synthetic underlayment to provide a moisture barrier.
- Adding Flashing: Install metal flashing around chimneys, vents, and valleys to prevent leaks.
- Laying Starter Shingles: Place starter strips along the eaves to help seal the roof edge.
- Installing Shingles: Begin at the bottom edge and work upward, overlapping each row. Use a chalk line for straight courses and nail according to manufacturer instructions.
- Sealing and Finishing: Apply roofing sealant to exposed nails and vulnerable areas. Install ridge caps along the peak for a finished look.
Each step must be performed carefully to ensure a watertight, long-lasting result. For more details on the structure and performance of these roofs, see the asphalt roof overview for insights on durability and design options.
Advantages of Tackling Your Own Asphalt Shingle Roof
There are several benefits to handling this project yourself:
- Cost Savings: Labor is a significant portion of roofing expenses. Doing it yourself can save thousands of dollars.
- Learning Experience: You’ll gain valuable skills and a deeper understanding of your home’s structure.
- Customization: You control the materials, color, and installation pace.
However, these advantages come with responsibilities. Mistakes in installation can lead to leaks, reduced lifespan, or even voided warranties.
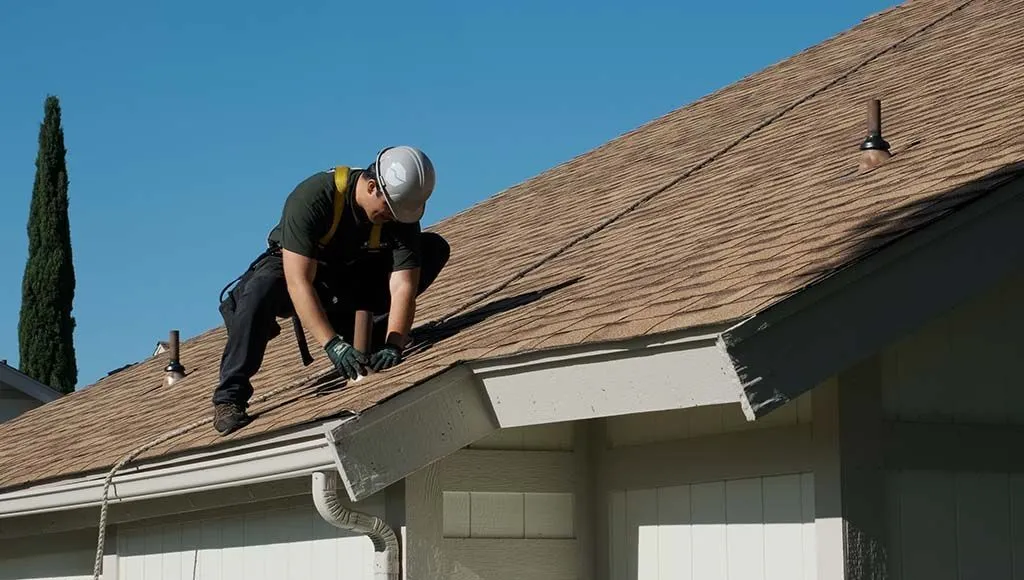
Potential Challenges and Safety Considerations
While a DIY asphalt shingle roof project can be rewarding, it is not without risks. Here are some challenges to keep in mind:
- Physical Demands: Roofing is strenuous and requires working at heights, often in hot or cold conditions.
- Safety Risks: Falls are the leading cause of injury in roofing. Always use a harness, stable ladder, and never work alone.
- Technical Skills: Proper installation techniques are crucial. Errors can lead to leaks, wind damage, or premature shingle failure.
- Weather Dependency: Roofing should be done in dry, mild weather to ensure materials adhere and seal properly.
If you have doubts about your ability to complete the project safely and correctly, it may be wise to consult a professional. For a comprehensive look at what makes these shingles effective, see what is asphalt shingle roofing for everything you need to know about their construction and performance.
When to Call a Professional Roofer
While many homeowners successfully install their own asphalt shingles, there are situations where hiring a professional is the better choice:
- Your roof has a steep pitch or complex design
- There is significant structural damage or rot
- You lack the necessary tools or experience
- Local building codes require licensed installation for warranty or insurance purposes
Professionals bring expertise, efficiency, and often provide warranties on their work, giving you peace of mind that the job is done right.
Tips for a Successful DIY Asphalt Shingle Project
For those determined to take on this challenge, here are some practical tips:
- Read manufacturer instructions carefully for your chosen shingles
- Plan for disposal of old roofing materials
- Work with a partner for safety and efficiency
- Double-check local building codes and permit requirements
- Inspect your work as you go, especially around flashing and roof penetrations
With preparation and attention to detail, many homeowners find this project manageable and rewarding.
Further Resources and Learning
If you want to expand your knowledge before starting, consider reading about the basics of asphalt shingle roofs from industry experts. Exploring innovations like solar roofing systems can also help you plan for future upgrades or energy efficiency improvements.
FAQ
How long does it take to install asphalt shingles yourself?
The timeline depends on your roof’s size and complexity. For a typical single-story home, expect the project to take anywhere from two to five days if working with a partner and weather conditions are favorable.
Can I install new shingles over old ones?
While some building codes allow a second layer of shingles, it’s generally best to remove old roofing for a flat, secure surface and to inspect for damage. Installing over old shingles can hide problems and reduce the lifespan of your new roof.
What is the lifespan of a properly installed asphalt shingle roof?
With quality materials and correct installation, asphalt shingles typically last 15 to 30 years. Factors like climate, ventilation, and maintenance can affect longevity.