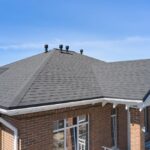
Installing an asphalt shingle roof is one of the most popular choices for homeowners due to its affordability, durability, and ease of installation. Whether you’re a seasoned contractor or a dedicated DIYer, understanding the full process ensures a watertight, long-lasting result. This guide covers every stage, from preparation to finishing touches, so you can approach your roofing project with confidence and clarity.
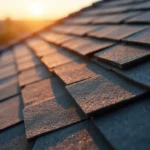
Before diving into the step-by-step process, it’s helpful to understand the basics of what makes asphalt shingles so effective. For a deeper look at the materials and their protective layers, check out how asphalt shingles work. This foundational knowledge will help you make informed decisions throughout your installation.
Preparation and Safety for Shingle Roofing Projects
Proper preparation is crucial for a successful roofing job. Start by gathering all necessary tools and materials. You’ll need:
- Asphalt shingles (choose the right type of shingle for your needs)
- Roofing nails and nail gun or hammer
- Roofing felt or synthetic underlayment
- Starter strips and ridge cap shingles
- Roofing sealant and flashing
- Utility knife, chalk line, tape measure, and pry bar
- Personal protective equipment (gloves, safety glasses, harness)
Before removing old roofing, check local building codes and weather forecasts. Always work on dry days and use fall protection when working on steep slopes. Remove old shingles, nails, and flashing. Inspect the decking for rot or damage and replace as needed. A clean, solid base is essential for a leak-free installation.
Installing Underlayment and Flashing
Once the roof deck is ready, the next step is to install the underlayment. This layer provides an extra barrier against water infiltration. Roll out roofing felt or synthetic underlayment horizontally, starting at the eaves and overlapping each row by at least 2 inches. Secure it with cap nails or staples, keeping the surface smooth and wrinkle-free.
Install drip edge flashing along the eaves before the underlayment, and along the rakes after. Around chimneys, vents, and valleys, use metal flashing to direct water away from vulnerable areas. Proper flashing installation is critical to prevent leaks and extend the life of your roof.

Laying Starter Shingles and the First Course
Starter strips are essential for wind resistance and proper water shedding at the roof’s edge. Install the starter shingles along the eaves, ensuring the adhesive strip is at the edge to seal the first row of shingles. Overlap the joints and cut the ends to fit as needed.
Begin the first course of shingles directly over the starter strip. Align the bottom edges and use a chalk line for straightness. Nail each shingle according to manufacturer instructions—typically four to six nails per shingle, placed just below the adhesive strip. Stagger the joints between courses to prevent water infiltration.
Continuing Shingle Courses and Working Around Roof Features
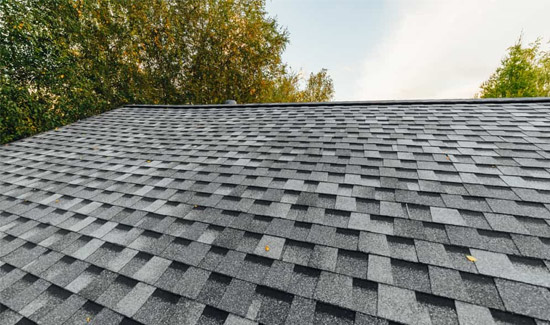
Continue installing shingles up the roof, overlapping each row according to the shingle design (usually about 5–6 inches). Use a consistent pattern and keep joints offset from the previous row. When you reach roof penetrations like vents or skylights, cut shingles to fit and install flashing around these features for a watertight seal.
For valleys, use the “open” or “closed” valley method, depending on your preference and local climate. Open valleys use metal flashing, while closed valleys weave shingles for a continuous look. Both methods require careful attention to detail to prevent leaks.
Installing Ridge Caps and Final Touches
After covering the entire roof with shingles, finish the project by installing ridge cap shingles along the roof peak. These specialized shingles protect the ridge from water and wind while providing a finished appearance. Overlap each cap shingle and nail them securely, covering all exposed fasteners with roofing sealant for added protection.
Inspect the entire roof for exposed nails, loose shingles, or debris. Apply sealant where needed, especially around flashing and penetrations. Clean the gutters and remove any leftover materials from the roof surface.
Tips for a Long-Lasting Asphalt Shingle Roof
To maximize the lifespan of your new roof, follow these best practices:
- Use high-quality shingles and underlayment for better durability.
- Ensure proper attic ventilation to prevent heat and moisture buildup.
- Trim overhanging branches to avoid shingle damage.
- Inspect your roof annually and after severe storms for signs of wear or damage.
- Promptly repair any issues to prevent leaks and structural problems.
For more information about the different types of shingles available, see types of asphalt shingles. If you’re considering tackling this project yourself, our DIY asphalt shingle roof guide covers tools, safety, and common pitfalls.
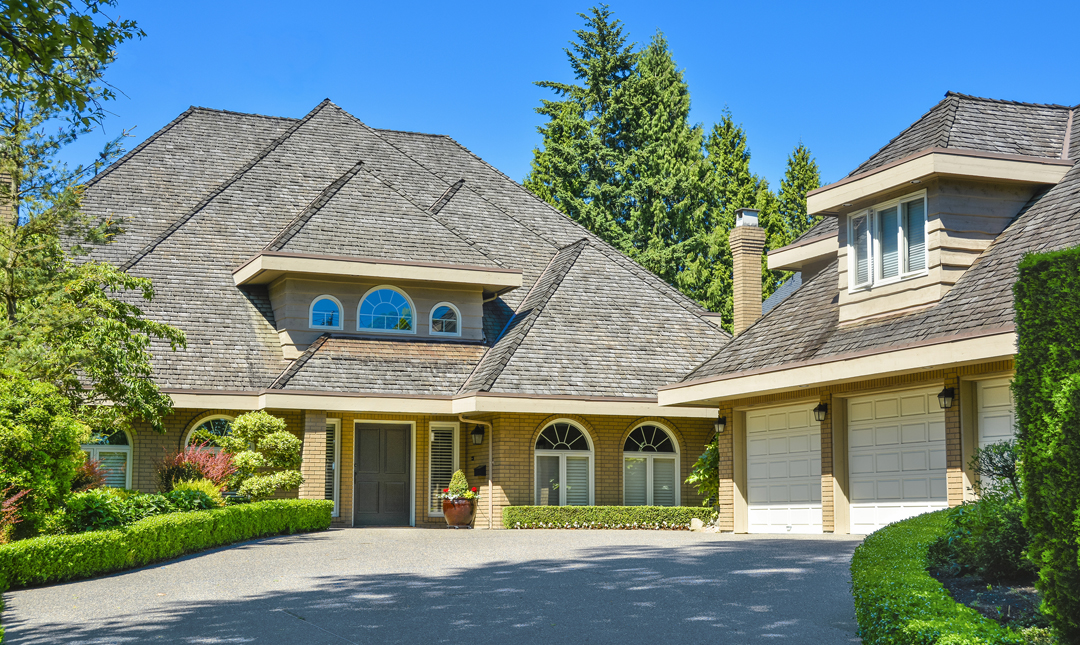
Understanding the Benefits of Asphalt Shingles
Asphalt shingles remain a top roofing choice for several reasons:
- Affordability: They offer a cost-effective solution compared to other materials.
- Variety: Available in a range of colors, styles, and thicknesses to match any home design.
- Ease of Installation: Their lightweight nature and straightforward installation process make them ideal for both professionals and DIYers.
- Weather Resistance: Modern shingles are engineered to withstand wind, rain, and UV exposure.
For a comprehensive overview of performance, costs, and design options, visit our asphalt roof overview page. If you want to learn more about the basics, what is asphalt shingle roofing provides a detailed introduction.
For additional insights into the advantages and structure of these roofs, this detailed asphalt shingle roof explanation covers everything from composition to maintenance tips.
Frequently Asked Questions
How long does a typical asphalt shingle roof last?
Most asphalt shingle roofs last between 20 and 30 years, depending on the quality of materials, installation, and climate. Regular maintenance and prompt repairs can help extend the lifespan of your roof.
Can I install asphalt shingles over an existing roof?
In some cases, it’s possible to install new shingles over a single layer of old shingles, but this is not always recommended. Removing the old layer allows for a thorough inspection of the decking and ensures a smoother, longer-lasting result. Always check local codes before proceeding.
What is the best time of year to install a new shingle roof?
Spring and fall are ideal, as moderate temperatures help shingles seal properly and make the work safer and more comfortable. Avoid installing shingles in extreme heat or cold, as this can affect material performance and safety.
Do I need professional help for installation?
While many homeowners choose to tackle this project themselves, professional installation ensures proper technique and warranty coverage. If you’re unsure about any step, consider hiring a licensed roofer for peace of mind.
How do I choose the right type of asphalt shingle?
Consider your budget, climate, and desired appearance. Three-tab shingles are economical, while architectural and luxury shingles offer enhanced durability and aesthetics. For more details, see our guide on types of asphalt shingles.