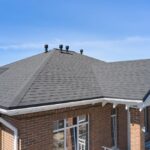
Properly installing roof shingles is essential for keeping your home dry, energy-efficient, and protected from the elements. Even small mistakes during installation can lead to leaks, premature wear, and costly repairs. Whether you’re a homeowner considering a DIY project or working with a professional, understanding the best practices for shingle installation will help ensure a durable, watertight roof.
This guide covers practical shingle roofing installation tips to help you avoid common pitfalls and achieve a long-lasting, leak-resistant roof. For those interested in a step-by-step breakdown, you can also explore our asphalt shingle roof installation resource for more detailed instructions.
Preparing for a Successful Shingle Roof Installation
Preparation is the foundation of a leak-free roof. Before you even open a bundle of shingles, take the following steps to set yourself up for success:
- Inspect the roof deck: Remove old shingles and check for damaged or rotted wood. Replace any compromised decking to ensure a solid base.
- Install proper underlayment: Use a high-quality roofing felt or synthetic underlayment to provide an extra layer of moisture protection beneath the shingles.
- Flash all vulnerable areas: Pay special attention to valleys, chimneys, skylights, and roof penetrations. Install metal flashing and sealant to prevent water intrusion.
- Check the weather forecast: Plan your project for a stretch of dry, mild weather. Avoid installing shingles in extreme heat, cold, or during rain.
For a more comprehensive overview of the process, our roof shingle installation steps article covers everything from preparation to the final cap shingle.
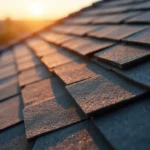
Best Practices for Laying Shingles
Once your roof is prepped, it’s time to start laying shingles. These practical shingle roofing installation tips will help you avoid leaks and ensure your roof looks and performs its best:
- Start with a starter strip: Install a starter course of shingles or a dedicated starter strip along the eaves. This helps prevent wind-driven rain from getting under the first row.
- Stagger your seams: Each row of shingles should offset the seams from the row below by at least 6 inches. This prevents water from finding a direct path through the roof.
- Use the correct nail placement: Drive nails just below the adhesive strip, using the number and pattern recommended by the shingle manufacturer. Avoid overdriving or underdriving nails.
- Maintain straight lines: Use a chalk line to keep each course straight. Crooked rows can lead to gaps and uneven wear.
- Install flashing as you go: Don’t wait until the end to add flashing. Integrate step flashing at walls and around roof features as you lay each course of shingles.

Waterproofing and Leak Prevention Strategies
Water infiltration is the number one enemy of any roof. To maximize your home’s protection, focus on these leak-prevention techniques:
- Apply roof sealant: Use a high-quality sealant at all flashing joints, around vents, and at exposed nail heads. This creates a watertight barrier in vulnerable areas.
- Install ice and water shield: In colder climates, add a self-adhering membrane along the eaves and valleys to prevent leaks caused by ice dams and wind-driven rain.
- Check for proper shingle overhang: Shingles should extend 1/4 to 3/8 inch beyond the drip edge to direct water into the gutters and away from the fascia.
- Ventilate the attic: Proper attic ventilation reduces moisture buildup and helps prevent shingle damage from heat and condensation.
For additional guidance on tackling a DIY asphalt shingle roof, our in-depth article offers practical advice for homeowners considering self-installation.
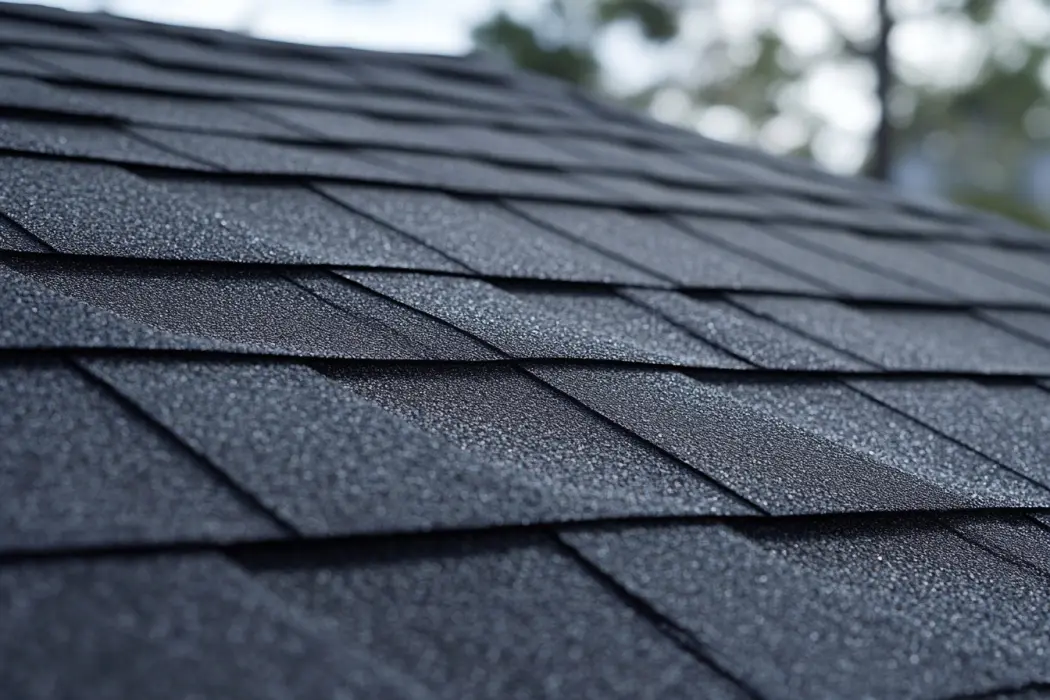
Choosing the Right Shingles and Materials
The quality and type of materials you choose can have a big impact on your roof’s longevity and leak resistance. Here are some factors to consider:
- Shingle type: Asphalt shingles are the most popular choice for residential roofs due to their affordability and ease of installation. There are also architectural, three-tab, and specialty options available.
- Underlayment: Synthetic underlayment offers superior water resistance compared to traditional felt paper and is less likely to tear during installation.
- Flashing material: Aluminum and galvanized steel are common choices for flashing. Make sure the metal is compatible with your roofing system to prevent corrosion.
- Fasteners: Use galvanized roofing nails that are long enough to penetrate the decking by at least 3/4 inch.
If you’re unsure which shingle style is best for your home, check out this comprehensive guide to different types of roofing shingles for a helpful overview.

Common Mistakes to Avoid During Shingle Installation
Even experienced installers can make errors that compromise a roof’s integrity. Here are some frequent mistakes and how to prevent them:
- Improper nailing: Nails that are overdriven, underdriven, or placed incorrectly can lead to shingle blow-off and leaks.
- Skipping underlayment or flashing: Omitting these critical layers leaves your roof vulnerable to water intrusion.
- Poor ventilation: Inadequate attic airflow can cause shingles to overheat and deteriorate prematurely.
- Incorrect shingle alignment: Misaligned shingles not only look unprofessional but also create gaps where water can enter.
- Neglecting manufacturer instructions: Always follow the shingle manufacturer’s guidelines for installation, spacing, and fastener placement.
For more professional insights, our asphalt roofing installation guide offers expert tips for a successful project.
Maintenance Tips for a Leak-Free Roof
Even the best-installed roof needs regular care to stay leak-free. Here’s how to keep your shingles performing their best year after year:
- Inspect annually: Check for missing, cracked, or curled shingles and replace them promptly.
- Clean gutters and downspouts: Clogged gutters can cause water to back up under the shingles and lead to leaks.
- Trim overhanging branches: Limbs that touch the roof can damage shingles and drop debris that traps moisture.
- Check flashing and sealant: Reapply sealant and repair flashing as needed to maintain a watertight barrier.
For those planning their own project, our how to install asphalt shingles guide provides step-by-step instructions and maintenance advice.
Frequently Asked Questions
What is the most important step for preventing roof leaks?
The most critical step is ensuring all flashing is properly installed and sealed, especially around roof penetrations and valleys. High-quality underlayment and correct shingle placement are also essential for leak prevention.
Can I install roof shingles myself, or should I hire a professional?
Many homeowners successfully tackle shingle installation as a DIY project, especially on simple, single-story roofs. However, complex roofs or those with multiple penetrations may be best left to professionals to ensure a watertight finish.
How often should I inspect my shingle roof for potential leaks?
It’s recommended to inspect your roof at least once a year and after major storms. Look for damaged shingles, loose flashing, and clogged gutters to catch issues before they lead to leaks.