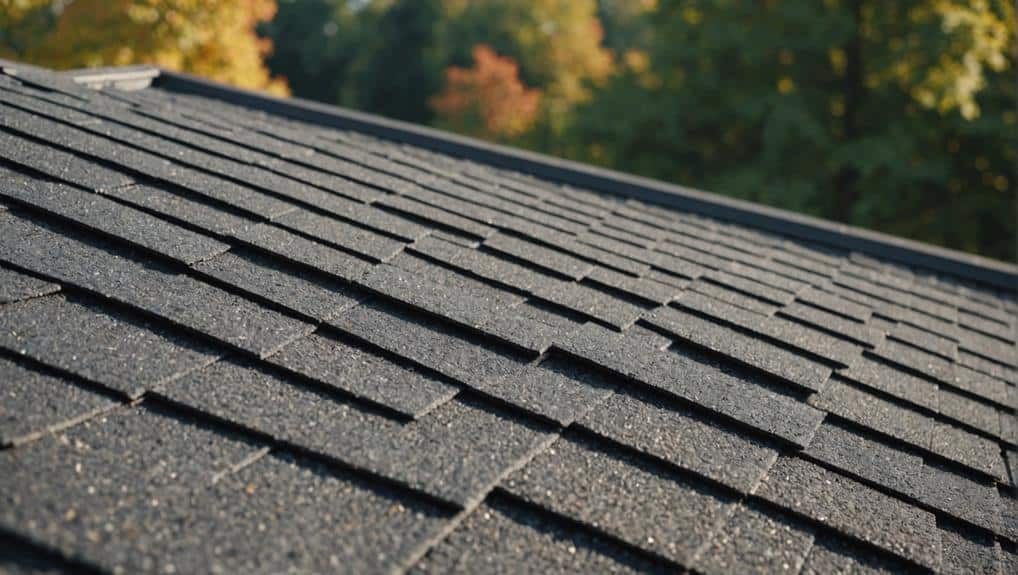
Replacing an asphalt shingle roof is a significant home improvement project that can extend the life of your property, improve curb appeal, and protect your investment from the elements. Understanding the asphalt roof replacement process helps homeowners set realistic expectations, prepare for the work ahead, and make informed decisions about materials and contractors.
This guide breaks down each stage of the replacement journey, from initial inspection to final cleanup. Whether you’re planning to hire a professional or want to understand what’s involved, you’ll find practical insights and tips to ensure a smooth project. If you’re interested in hands-on advice for installation, you might also find value in our shingle roofing installation tips.
Why Replace Your Asphalt Shingle Roof?
Over time, asphalt shingles deteriorate due to weather, UV exposure, and age. Signs that it’s time for a new roof include curling or missing shingles, granule loss, leaks, and visible sagging. A timely replacement prevents water damage, mold growth, and costly structural repairs. Upgrading your roof also boosts energy efficiency and can increase your home’s resale value.
Preparing for the Roof Replacement
Preparation is a crucial part of the asphalt roof replacement process. Here’s what to expect before the first shingle is removed:
- Inspection and Assessment: A roofing professional will inspect your current roof, attic, and decking to determine the scope of work and identify any underlying issues.
- Estimate and Contract: You’ll receive a detailed estimate covering materials, labor, disposal, and any extras. Review the contract carefully to understand warranties and timelines.
- Material Selection: Choose the type and color of asphalt shingles, underlayment, and flashing. Quality materials can extend the life of your new roof.
- Scheduling: The contractor will set a start date, considering weather conditions and material availability.
- Site Preparation: Move vehicles, cover landscaping, and secure outdoor furniture to protect them from debris.
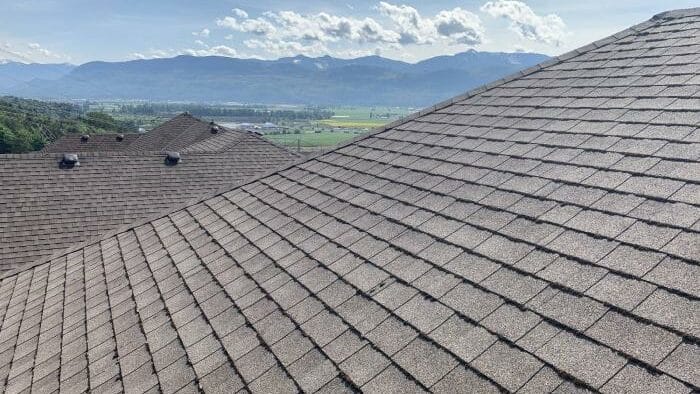
Step-by-Step Breakdown of the Asphalt Roof Replacement
1. Removing Old Shingles and Underlayment
The first step is stripping away the existing shingles and underlayment. Crews use specialized tools to remove all layers down to the roof deck. This exposes any hidden damage, such as rot or mold, which must be addressed before new materials are installed.
2. Inspecting and Repairing the Roof Deck
Once the old materials are gone, the decking is thoroughly inspected. Any soft spots, water damage, or structural issues are repaired or replaced. A solid, dry deck is essential for a long-lasting roof.
3. Installing New Underlayment and Flashing
A waterproof underlayment is rolled out over the decking to provide an extra layer of protection against moisture. Flashing is installed around chimneys, vents, valleys, and other vulnerable areas to prevent leaks. These steps are critical for the durability and weather resistance of your new roof.
4. Laying Asphalt Shingles
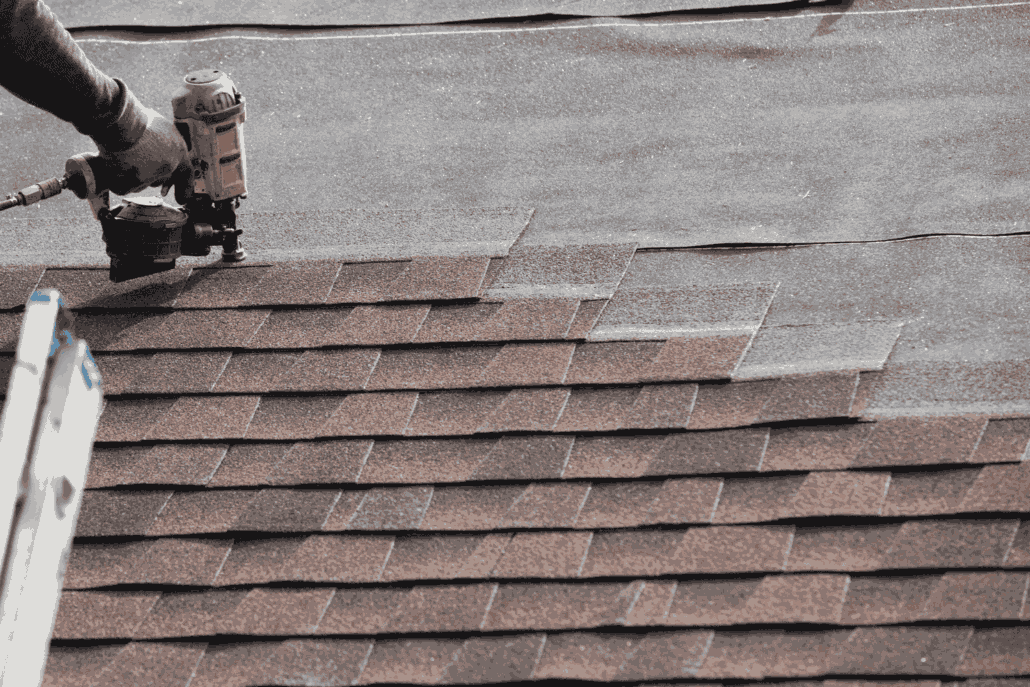
The next phase involves installing the new asphalt shingles, starting from the bottom edge and working upward. Shingles are staggered for proper water runoff and nailed securely in place. Ridge caps and hip shingles are added last for a finished look.
If you want a detailed walkthrough of this stage, check out our guide on how to install asphalt shingles.
5. Cleanup and Final Inspection
After installation, the crew removes debris, nails, and old materials from your property. A magnetic roller is often used to pick up stray nails. The contractor will conduct a final inspection to ensure the roof is properly sealed and meets quality standards.
You’ll receive warranty information and maintenance recommendations. It’s wise to keep these documents for future reference.
How Long Does the Whole Process Take?
Most residential asphalt shingle replacements take one to three days, depending on roof size, weather, and complexity. Larger or more intricate roofs may require additional time, especially if repairs to the decking are needed.
Weather delays are possible, so flexibility in scheduling is important. Communicate with your contractor to stay updated on progress and any changes.
Tips for a Smooth Roof Replacement Experience
- Communicate Clearly: Discuss expectations, timelines, and concerns with your contractor before work begins.
- Protect Your Property: Move vehicles away from the house and cover landscaping to prevent accidental damage.
- Plan for Noise and Disruption: Roof replacement is noisy and may disrupt daily routines. Notify neighbors in advance.
- Inspect the Work: Walk around your property after completion to check for debris and review the finished roof.
- Understand Your Warranty: Know what’s covered and how to maintain your new roof to keep the warranty valid.
Choosing the Right Materials and Contractor
Selecting high-quality shingles and underlayment is essential for a durable, weather-resistant roof. Look for products with strong warranties and proven performance. When hiring a contractor, verify their licensing, insurance, and reputation. Ask for references and review previous projects.
For more information on the components of an asphalt shingle system, visit this simple guide to understanding your asphalt shingle roofing system.
Maintaining Your New Asphalt Roof
Regular maintenance extends the life of your new roof. Inspect it at least twice a year and after major storms. Clear debris from gutters and valleys, check for damaged shingles, and address minor issues promptly. Using a quality sealant can help prevent leaks and prolong the roof’s lifespan.
If you’re considering a full upgrade, you may want to learn more about how to install new asphalt roof for a complete transformation.
Frequently Asked Questions
How do I know when my asphalt roof needs to be replaced?
Common signs include curling, cracked, or missing shingles, granule loss, leaks in the attic, and visible sagging. If your roof is over 20 years old, it’s wise to schedule a professional inspection.
Can I stay in my home during the roof replacement?
Yes, most homeowners remain in their homes during the project. Expect noise and some disruption, but contractors typically keep work areas safe and accessible.
What’s the difference between a roof replacement and a re-roof?
A roof replacement involves removing all old materials down to the deck and installing new components. Re-roofing adds a new layer of shingles over the existing ones, which is only possible if the current roof is in good condition and local codes allow it.
How can I ensure my new roof lasts as long as possible?
Choose quality materials, hire an experienced contractor, and follow recommended maintenance practices. Address minor repairs promptly and keep gutters clear to prevent water damage.
For more expert advice on installation, see our asphalt shingle roof installation resource or explore our asphalt roofing installation guide for professional tips.