Properly layering insulation in your attic is one of the most effective ways to improve your home’s energy efficiency, comfort, and long-term durability. Many homeowners overlook the importance of using the right materials and techniques, but understanding how to layer attic insulation can make a significant difference in both heating and cooling costs. This guide breaks down the process step by step, highlights common mistakes to avoid, and offers practical tips for achieving optimal results.
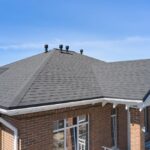
Before you get started, it’s helpful to have a basic understanding of your attic’s current condition and any potential issues, such as moisture, ventilation, or structural concerns. If you’re planning a broader roofing project, you may also want to review the roof upgrade cost to see how insulation fits into your overall home improvement budget.
Why Layering Insulation Matters
Layering insulation in your attic isn’t just about adding more material—it’s about creating a system that maximizes thermal resistance (R-value), reduces air leaks, and prevents moisture problems. A well-layered approach can:
- Increase energy efficiency by reducing heat loss in winter and heat gain in summer.
- Help maintain consistent indoor temperatures throughout the year.
- Protect your roof structure from condensation and potential damage.
- Lower utility bills and extend the lifespan of your HVAC system.
Attics are often the biggest source of energy loss in a home, so taking the time to layer insulation correctly pays off in both comfort and savings.
Assessing Your Attic and Existing Insulation
Before you start layering, inspect your attic for the following:
- Type and depth of current insulation: Measure the thickness and note the material (fiberglass batts, blown-in cellulose, etc.).
- Signs of moisture or mold: Address leaks or dampness before adding new layers.
- Ventilation: Ensure soffit and ridge vents are clear to prevent condensation.
- Obstructions: Check for recessed lighting, wiring, or ductwork that may require special treatment.
Removing old, damaged, or compressed insulation may be necessary if it’s wet or moldy. Otherwise, most types can be layered over as long as they’re dry and in good shape.
Choosing the Right Materials for Attic Insulation Layers
There are several types of insulation commonly used in attics, each with its own advantages for layering:
- Fiberglass batts or rolls: Easy to handle, ideal for laying over joists or existing insulation.
- Blown-in cellulose: Fills gaps and covers irregular spaces, great for topping up existing layers.
- Spray foam: Provides air sealing and high R-value, often used as a base layer or for sealing edges.
- Rigid foam boards: Useful for targeted areas or as a thermal break over rafters.
For most homes, a combination of materials works best. For example, you might have an initial layer of fiberglass batts between joists, topped with a layer of blown-in cellulose to fill gaps and increase R-value.
Step-by-Step Guide: How to Layer Attic Insulation Effectively
Follow these steps for a successful installation:
-
Seal Air Leaks First
Use caulk or spray foam to seal gaps around plumbing, wiring, and attic hatches. This prevents warm air from escaping and cold air from entering. -
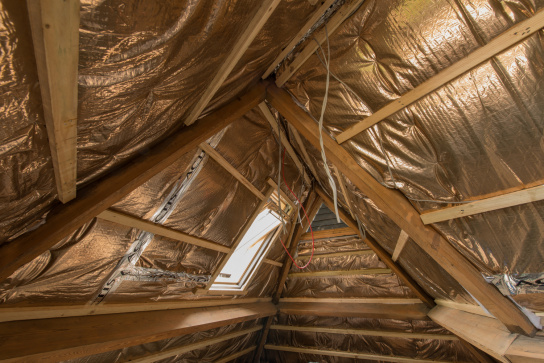
Install a Vapor Barrier (If Needed)
In colder climates, a vapor barrier may be required on the warm side of the insulation to prevent moisture buildup. Check local codes before adding one. -
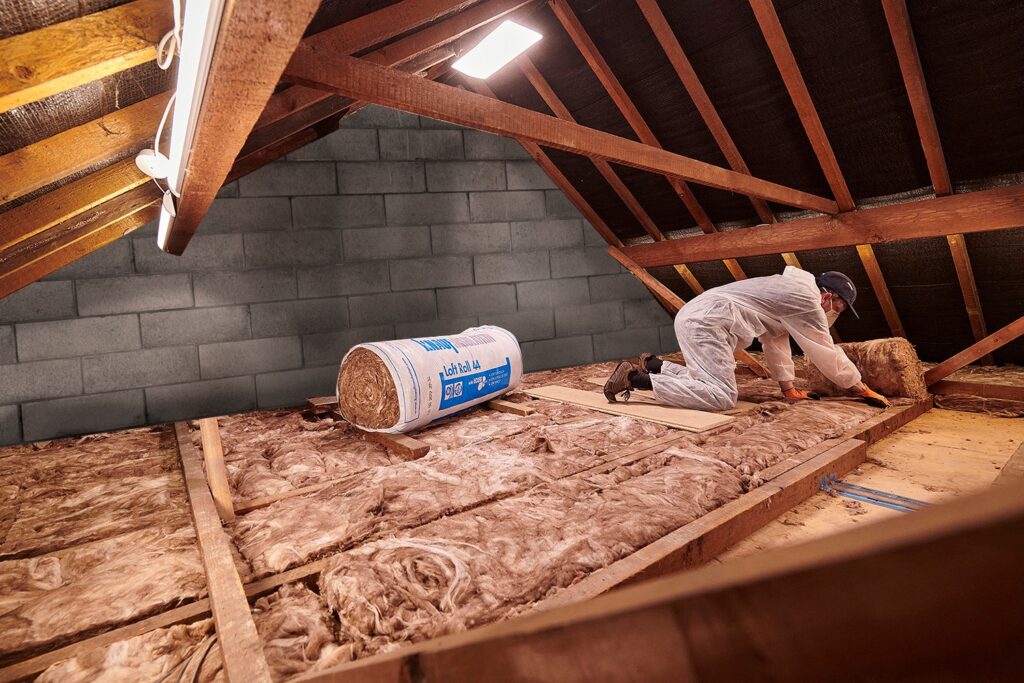
Lay the First Layer Between Joists
Place unfaced fiberglass batts or rolls snugly between the attic floor joists. Avoid compressing the material, as this reduces its effectiveness. -
Add a Second Layer Perpendicular to the First
Lay another layer of insulation (batts or rolls) perpendicular to the joists. This covers gaps and thermal bridges, further boosting R-value. -
Top Up with Loose-Fill Insulation
Blow in cellulose or fiberglass to fill any remaining gaps and achieve the recommended total depth for your climate zone. -
Maintain Ventilation
Ensure soffit and ridge vents remain unobstructed. Use baffles if necessary to keep insulation from blocking airflow. -
Insulate and Seal the Attic Hatch
Don’t forget to add insulation to the attic access door and weatherstrip around its edges.

Common Mistakes to Avoid When Layering Attic Insulation
Even with the best materials, improper installation can undermine your efforts. Here are some pitfalls to watch out for:
- Blocking ventilation: Covering soffit vents can trap moisture and cause mold or rot.
- Compressing insulation: Squashing batts or rolls reduces their R-value and effectiveness.
- Ignoring air leaks: Failing to seal gaps allows conditioned air to escape, reducing energy savings.
- Using faced insulation incorrectly: Facing should not be sandwiched between layers, as it can trap moisture.
- Neglecting the attic hatch: An uninsulated access door is a major source of heat loss.
Taking the time to do the job right ensures you get the most out of your investment in attic insulation.
How Layered Insulation Impacts Roof Health
Properly layered attic insulation not only improves comfort and efficiency but also helps protect your roof structure. By maintaining a consistent temperature in the attic, you reduce the risk of ice dams in winter and minimize thermal stress on roofing materials. If you notice issues such as sagging or uneven roof lines, it may be worth reviewing resources on roof sagging problems to ensure your attic and roof system are working together as intended.
Recommended R-Values and Climate Considerations
The ideal amount of insulation depends on your location and climate zone. In most parts of the U.S., the Department of Energy recommends attic insulation with an R-value between R-38 and R-60. Check local building codes for specific requirements. Remember, adding layers is the easiest way to increase R-value if your attic is under-insulated.
| Climate Zone | Recommended Attic R-Value |
|---|---|
| Zones 1-2 (Hot) | R-30 to R-49 |
| Zones 3-4 (Mild) | R-38 to R-60 |
| Zones 5-7 (Cold) | R-49 to R-60 |
When in doubt, more insulation is usually better, as long as you maintain proper ventilation and moisture control.
FAQs About Attic Insulation Layering
Can I add new insulation over old insulation in my attic?
Yes, as long as the existing insulation is dry, free of mold, and not compressed, you can safely add new layers on top. Avoid using faced insulation as the top layer, as the vapor barrier can trap moisture between layers.
How do I know if my attic needs more insulation?
Check the depth of your current insulation. If you can see the joists or if the insulation is less than the recommended R-value for your region, it’s a good idea to add more. Uneven temperatures, high energy bills, and drafty rooms are also signs your attic may be under-insulated.
Is it better to use batts, blown-in, or spray foam for layering?
Each material has its strengths. Batts are easy for DIY projects and work well between joists, while blown-in insulation is ideal for topping up and filling gaps. Spray foam offers superior air sealing but is best installed by professionals. Many homeowners use a combination for the best results.
By following these guidelines and understanding how to layer attic insulation effectively, you can create a more energy-efficient and comfortable home. For additional tips on roof maintenance and upgrades, explore our asphalt roof replacement guide for comprehensive advice on keeping your home protected year-round.