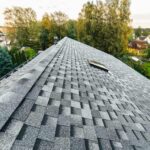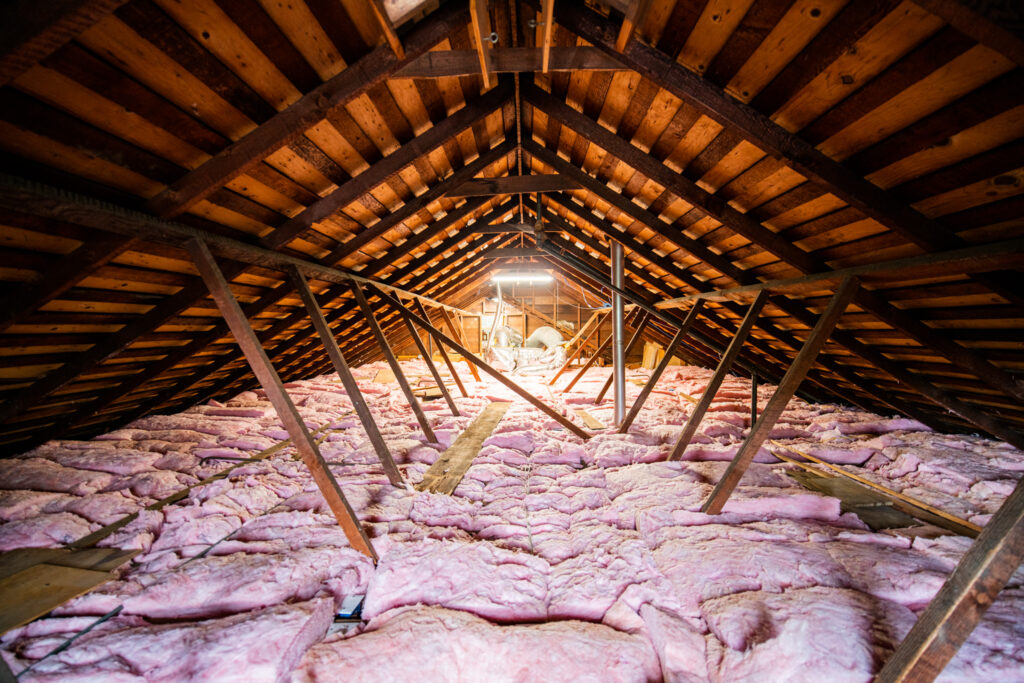
Properly managing moisture in your attic is crucial for maintaining energy efficiency, preventing mold, and protecting the structural integrity of your home. One of the most important components in this process is the use of attic insulation vapor barriers. These barriers play a key role in controlling the movement of water vapor, which can otherwise condense and cause a range of problems in your attic space. Whether you’re retrofitting an older home or planning new construction, understanding how vapor barriers work with attic insulation will help you make informed decisions for a healthier, more efficient home.
If you’re also interested in how roofing technology is evolving, you might want to explore the latest solar roofing technology and how it integrates with modern insulation strategies.
Understanding the Role of Vapor Barriers in Attic Insulation
A vapor barrier is a material designed to limit the passage of water vapor through ceilings, walls, and floors. In the context of attic insulation, these barriers are typically installed to prevent moisture from the living spaces below from migrating into the attic, where it can condense on cold surfaces. Over time, this trapped moisture can lead to mold growth, wood rot, and a decrease in insulation effectiveness.
The main function of vapor barriers is to keep the insulation dry. When insulation absorbs moisture, its thermal resistance (R-value) drops, making it less effective at keeping your home comfortable. By installing a vapor barrier, you help maintain the performance of your attic insulation and protect your home from potential damage.
Types of Materials Used for Moisture Control
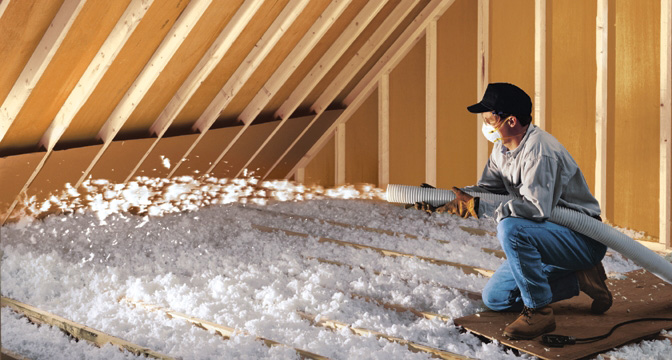
There are several materials commonly used as vapor barriers in attics. The choice depends on your climate, the type of insulation, and building codes in your area. Here are some of the most popular options:
- Polyethylene Sheets: These plastic sheets are widely used due to their low permeability and affordability. They are usually installed on the warm side of the insulation.
- Kraft-Faced Insulation: Many fiberglass batts come with a kraft paper facing that acts as a vapor retarder. This is often sufficient in moderate climates.
- Foil-Faced Insulation: Foil facings provide both vapor and radiant barriers, making them a good choice in hot climates where heat gain is a concern.
- Paint-On Vapor Retarders: Special paints can be applied to ceilings or walls to reduce vapor transmission. These are sometimes used in renovations where installing a physical barrier is difficult.
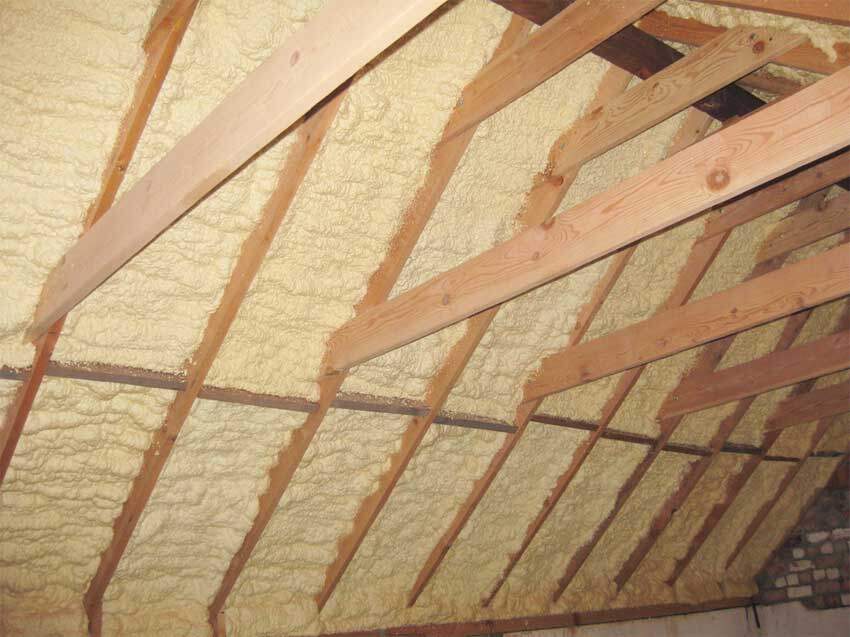
Where to Install Vapor Barriers in the Attic
The placement of vapor barriers is critical for their effectiveness. In most climates, the barrier should be installed on the warm side of the insulation—typically facing the interior of the living space. This prevents indoor humidity from reaching the cold attic air, where it could condense.
In colder regions, the vapor barrier is usually placed directly under the attic insulation, just above the ceiling drywall. In warmer, humid climates, building codes may recommend omitting the barrier altogether or using a vapor retarder with higher permeability to allow the assembly to dry out if needed. Always check local building codes and consult with professionals to determine the best approach for your area.
Benefits of Using Vapor Barriers with Attic Insulation
Incorporating moisture control layers in your attic insulation system offers several advantages:
- Prevents Mold and Mildew: By stopping moisture from accumulating, vapor barriers help inhibit the growth of mold and mildew, which can cause health problems and structural damage.
- Protects Insulation Performance: Keeping insulation dry maintains its R-value, ensuring your home stays energy efficient.
- Reduces Structural Deterioration: Moisture can cause wood rot and corrosion of metal components. Vapor barriers help protect these materials.
- Improves Indoor Air Quality: By preventing mold and mildew, you also help maintain healthier indoor air for your family.
Common Mistakes and How to Avoid Them
Even with the best intentions, mistakes can happen during the installation of vapor barriers. Here are some common pitfalls and how to avoid them:
- Incorrect Placement: Placing the barrier on the wrong side of the insulation can trap moisture inside the assembly, leading to the very problems you’re trying to prevent.
- Gaps and Tears: Any holes or tears in the vapor barrier can allow moisture to bypass the protection. Always inspect for damage and seal any penetrations carefully.
- Overlapping Barriers: When using sheets, ensure they overlap by at least six inches and are sealed with appropriate tape to create a continuous barrier.
- Ignoring Ventilation: Vapor barriers are not a substitute for proper attic ventilation. Ensure your attic has adequate vents to allow any moisture that does get in to escape.
How Vapor Barriers Interact with Modern Roofing Solutions
As roofing technology advances, the integration of insulation and moisture control becomes even more important. For homeowners considering upgrades like solar panels, understanding how vapor barriers fit into the overall roofing system is essential. For example, if you’re interested in the solar roofing market trends, you’ll find that many new systems are designed with energy efficiency and moisture management in mind.
Innovations in roofing, such as integrated solar shingles and advanced underlayment materials, often require a holistic approach to attic insulation and vapor control. Proper coordination between these elements ensures that your investment in modern roofing pays off in both comfort and durability.
FAQ: Attic Insulation and Vapor Barriers
Do all attics need a vapor barrier?
Not every attic requires a vapor barrier. The need depends on your local climate, the type of insulation used, and building codes. In cold climates, a vapor barrier is often recommended, while in warmer, humid regions, a vapor retarder or no barrier may be preferred to allow for drying.
Can I add a vapor barrier to an existing insulated attic?
It is possible to retrofit a vapor barrier, but it must be done carefully to avoid trapping moisture. Consult with an insulation professional to assess your current setup and determine the best approach for your home.
What is the difference between a vapor barrier and a vapor retarder?
A vapor barrier is designed to block nearly all water vapor, while a vapor retarder slows down the movement of vapor but still allows some to pass through. The choice between the two depends on your specific needs and climate conditions.
Conclusion: Making the Right Choice for Your Home
Selecting and installing the right vapor barrier for your attic insulation is a key step in protecting your home from moisture-related issues. By understanding the materials available, proper placement, and how these barriers interact with modern roofing systems, you can ensure a comfortable, energy-efficient living space for years to come. Always consult local building codes and consider professional advice to tailor your approach to your specific situation.