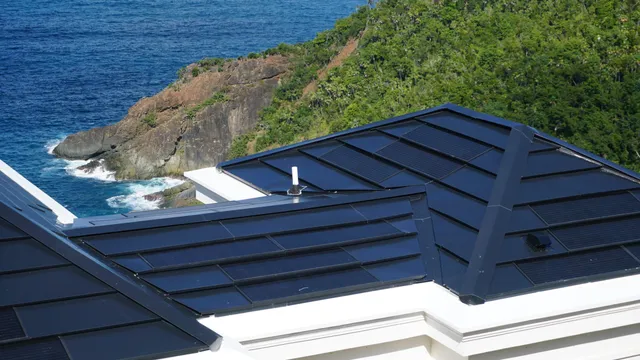
As more homeowners and businesses look for sustainable energy solutions, the solar roof installation process has become a central topic in renewable energy discussions. Understanding each phase of this journey helps set expectations, ensures a smooth transition to solar, and maximizes the benefits of your investment. Whether you are considering solar shingles or integrated tiles, knowing what to expect at every stage can make a significant difference in the outcome.
Before diving into the detailed steps, it’s helpful to explore broader industry perspectives, such as the latest solar roofing market trends, to understand how innovations and technology are shaping the future of solar roofs.
Initial Assessment and Planning for Solar Roofs
The first step in any solar roof installation process is a thorough assessment of your property. This evaluation determines if your roof is suitable for solar technology and helps identify the best system for your needs. Professionals will inspect the roof’s orientation, angle, shading, and structural integrity. They may also review your energy consumption patterns to recommend the optimal system size.
For a deeper dive into what site assessments entail, you can refer to this detailed solar roofing site assessment guide, which outlines the criteria and tools used during this phase.
Designing the Solar Roofing System
Once the assessment is complete, the next phase involves designing a custom solar solution tailored to your property. This includes selecting between solar shingles, tiles, or panels, and determining the layout to maximize energy production. The design must also comply with local building codes and utility requirements.
During this stage, you may compare options such as solar tiles versus traditional panels. For a comprehensive comparison, check out this guide on solar roof tiles vs. solar panels to help inform your decision.
Permitting and Approvals
Before any installation work begins, obtaining the necessary permits and approvals is essential. This process varies by location but typically involves submitting plans to local authorities and utility companies. These entities ensure the proposed system meets safety standards and grid requirements.
The permitting phase can take anywhere from a few weeks to a couple of months, depending on your municipality and the complexity of your project. Working with an experienced installer can help streamline this process and avoid unnecessary delays.
Preparing the Roof for Solar Installation
With permits in hand, the next step is preparing your roof. This may involve repairing or reinforcing the existing structure to support the added weight of solar components. In some cases, an old roof may need partial or complete replacement before solar elements can be installed.
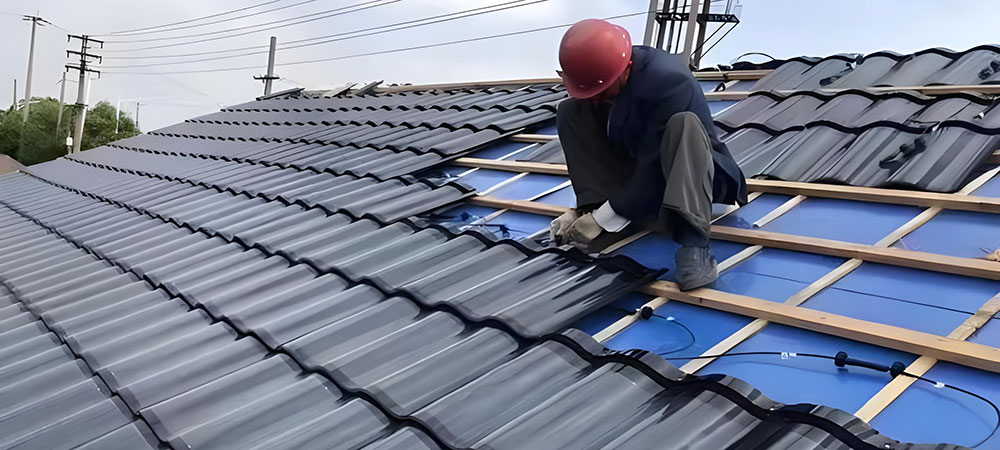
Proper preparation ensures the longevity and safety of your solar investment. Installers will also map out electrical pathways and plan for any necessary upgrades to your home’s electrical system.
Installing Solar Shingles or Tiles
The core of the solar roof installation process involves placing the solar shingles, tiles, or panels onto your roof. This step requires precision and expertise to ensure each component is securely attached and properly aligned. Installers will also integrate flashing and waterproofing materials to protect your home from leaks.
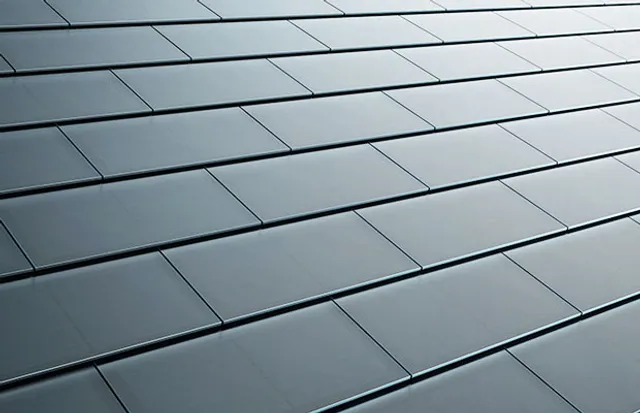
Depending on the size and complexity of your system, this phase can take several days to a week. Installers will also connect the solar components to your inverter and electrical panel, setting the stage for energy production.
Electrical Connections and System Integration
After the physical installation, the system must be wired and integrated with your home’s electrical infrastructure. This involves connecting the inverter, which converts DC electricity from the solar cells into usable AC power for your home.
Installers will also set up monitoring systems so you can track your energy production and consumption in real time. Safety checks are performed to ensure all connections are secure and compliant with electrical codes.
Inspection and Commissioning
Before your solar roof can start generating electricity, it must pass a final inspection by local authorities or utility representatives. Inspectors verify that the installation meets all safety and code requirements. Once approved, your system will be officially commissioned and connected to the grid.
At this point, you can begin enjoying the benefits of renewable energy, including lower utility bills and a reduced carbon footprint.
Post-Installation Maintenance and Monitoring
Maintaining your solar roof is essential for long-term performance. Regular cleaning and periodic inspections help ensure your system operates efficiently. Most modern systems include monitoring tools that alert you to any issues or drops in performance.
For insights into the latest advancements in this field, consider reading about latest solar roofing technology and innovations in solar roofing to stay updated on maintenance best practices and new features.
Benefits of a Well-Executed Solar Roof Installation
A properly managed installation process delivers several advantages:
- Energy Savings: Generate your own electricity and reduce reliance on the grid.
- Environmental Impact: Lower your carbon footprint and support clean energy initiatives.
- Increased Property Value: Homes with solar roofs often command higher resale prices.
- Durability: Many solar shingles and tiles are designed to last as long as traditional roofing materials.
- Modern Aesthetics: Integrated solar solutions provide a sleek, low-profile look.
Frequently Asked Questions
How long does it take to complete a solar roof installation?
The timeline varies based on project size and permitting requirements. On average, the process—from initial assessment to final commissioning—can take anywhere from one to three months. The actual installation phase typically lasts one to two weeks.
Are there differences between solar shingles and traditional solar panels?
Yes, solar shingles and tiles are integrated into the roofing material, providing a seamless appearance, while traditional panels are mounted on top of the existing roof. Each option has unique benefits and installation requirements. For a detailed comparison, refer to the guide on solar roof tiles vs. solar panels.
What maintenance is required for a solar roof?
Maintenance is generally minimal. Regular cleaning to remove debris and occasional inspections to check for damage or performance issues are recommended. Many systems offer monitoring apps to help you track performance and receive alerts if maintenance is needed.
Will a solar roof work in areas with less sunlight?
Solar roofs can still generate electricity in less sunny regions, though output may be lower. System design can be optimized for your local climate to maximize efficiency.
Conclusion
Navigating the solar roof installation process step by step ensures a successful transition to renewable energy. By understanding each phase—from assessment and design to installation and maintenance—you can make informed decisions and enjoy the long-term benefits of solar technology. Staying informed about solar roofing future trends will also help you get the most out of your investment as the industry evolves.