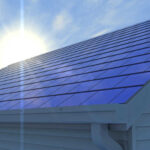
As more homeowners look for sustainable energy solutions, solar roofing has become an increasingly popular choice. Understanding the solar roofing installation steps is essential for anyone considering this investment. The process involves more than simply placing panels on a roof; it requires careful planning, professional assessment, and a series of coordinated tasks to ensure optimal performance and longevity.
This guide will walk you through each phase of the installation, from the initial evaluation to the final connection, so you know what to expect and how to prepare. If you’re still weighing your options, you might find it helpful to compare the solar roof vs traditional solar panels to see which system best fits your needs.
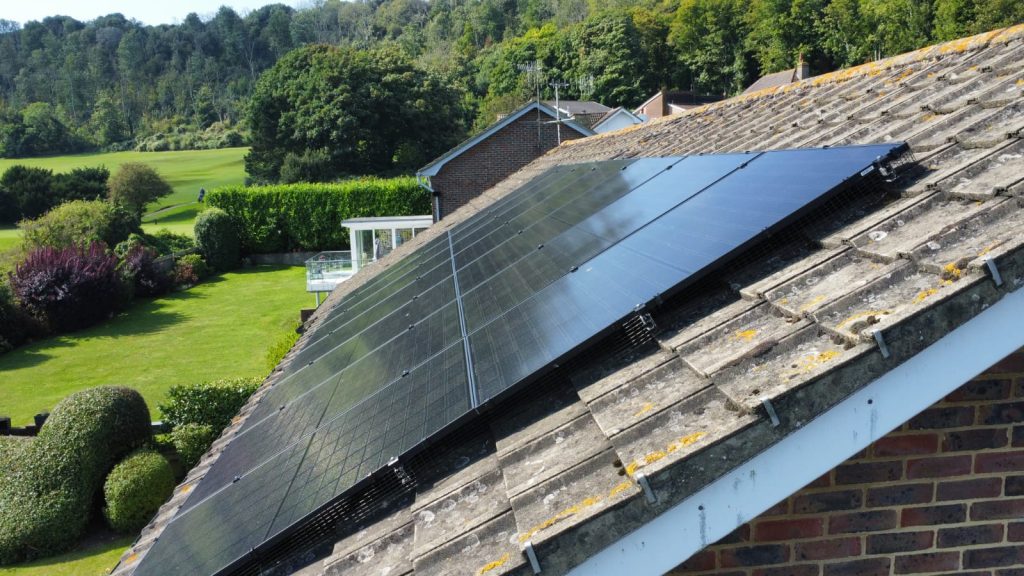
Initial Assessment and Planning
The first step in any solar roofing project is a thorough evaluation of your property. Installers will inspect your roof’s structure, orientation, and shading to determine if it’s suitable for solar tiles or shingles. This assessment includes:
- Checking the roof’s age and condition to ensure it can support the new system
- Measuring available surface area for maximum energy capture
- Analyzing sunlight exposure throughout the year
- Identifying any necessary repairs or reinforcements
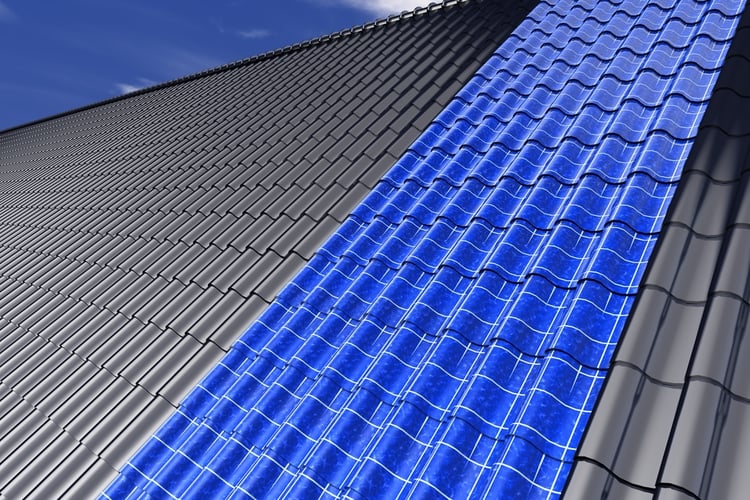
During this phase, you’ll also discuss your energy goals and budget. The installer will recommend the best type of solar roofing—such as integrated solar tiles or overlaid panels—based on your home’s characteristics. For a deeper dive into the pros and cons, see this solar roofing pros and cons overview.
Design and Permitting Process
Once your roof is deemed suitable, the next stage involves designing the system layout. This includes mapping out where each tile or shingle will go, determining wiring routes, and planning inverter placement. The design must comply with local building codes and utility requirements.
Permitting is a critical part of the process. Your installer will submit plans to local authorities and your utility provider for approval. This step can take several weeks, depending on your location and the complexity of the project. Ensuring all paperwork is in order helps avoid delays and ensures your installation meets safety standards.
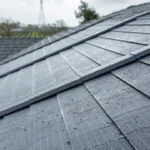
Preparing the Roof for Solar Installation
Before installing solar components, the roof may need repairs or upgrades. This could involve replacing old shingles, reinforcing the structure, or installing underlayment to protect against leaks. A clean, solid surface is essential for both performance and warranty compliance.
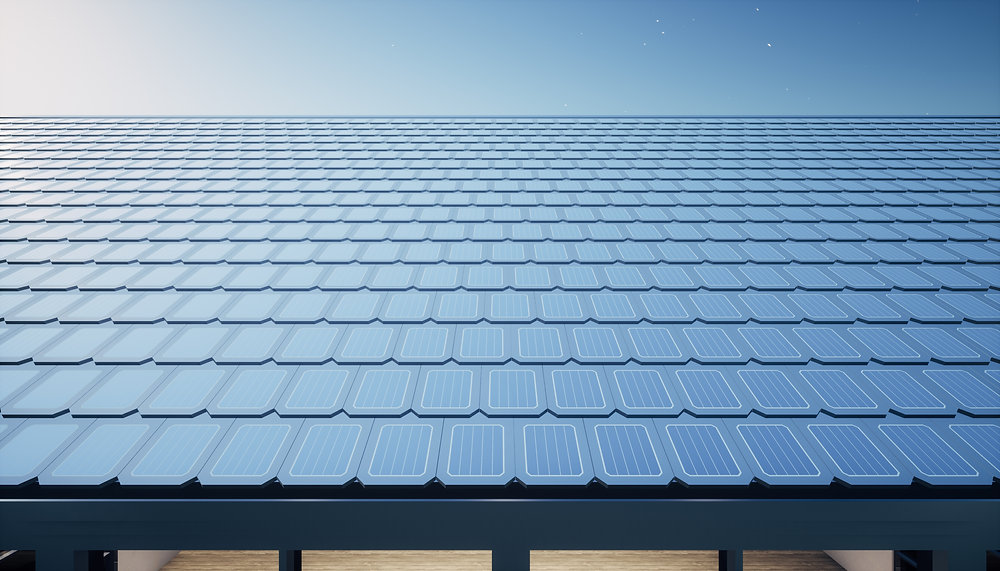
Installing Solar Roofing Components
With the roof prepped, the actual installation begins. The process varies depending on whether you’re using solar shingles, tiles, or panels, but generally follows these steps:
- Mounting brackets or rails are attached to the roof structure.
- Solar tiles or shingles are installed, often interlocking with standard roofing materials for a seamless look.
- All electrical wiring is run beneath the roofing surface, connecting each module to the inverter and main service panel.
- Inverters and other system components are mounted in a safe, accessible location.
Throughout this phase, installers take care to maintain weatherproofing and ensure all connections are secure. Proper installation is crucial for both energy production and the roof’s long-term durability.
System Integration and Electrical Work
After the physical installation, licensed electricians will integrate the solar system with your home’s electrical setup. This involves:
- Connecting the inverter to your main service panel
- Installing monitoring equipment to track energy production
- Ensuring all wiring meets code requirements
- Coordinating with your utility provider for grid connection
At this stage, the system remains inactive until it passes inspection. This ensures everything is safe and up to code before the system goes live.
Inspection and Activation
Before you can start generating electricity, your solar roofing system must be inspected by local authorities and, in some cases, your utility provider. Inspectors check for proper installation, code compliance, and safety measures. Once approved, your installer will activate the system and guide you through its operation.
You’ll learn how to monitor performance, identify issues, and maintain your new roof. For ongoing care, consider tools like a roof cleaning brush to keep panels free of debris and operating efficiently.
Post-Installation Maintenance and Monitoring
After your system is up and running, regular maintenance is key to maximizing its lifespan and efficiency. Most solar roofing products require minimal upkeep, but it’s important to:
- Keep the surface clean from leaves, dirt, and snow
- Check for any signs of damage or wear
- Monitor energy output using the provided tools
- Schedule professional inspections every few years
For more on the benefits of this technology, explore the advantages of solar roof tiles for modern homes. If you’re curious about potential drawbacks, review the disadvantages of solar roofing you should know.
Choosing the Right Solar Roofing Solution
Selecting the ideal system depends on your roof’s structure, your energy needs, and your budget. Integrated solar tiles offer a sleek appearance, while overlaid panels may be more cost-effective for some homes. For a detailed comparison of available options, you can read this comprehensive guide to solar tiles and their installation process.
Consulting with a qualified installer will help you navigate the choices and ensure your investment delivers the best possible return.
FAQ
How long does it take to install a solar roof?
The timeline varies depending on roof size, system complexity, and permitting requirements. Most residential projects take between one and three weeks from start to finish, not including the time needed for permitting and inspections.
Do I need to replace my roof before installing solar tiles?
If your roof is nearing the end of its lifespan or has structural issues, it’s best to address these before installation. A strong, well-maintained roof ensures your solar system will last for decades without major issues.
Are there incentives for installing solar roofing?
Many regions offer tax credits, rebates, or other incentives for solar installations. Check with your installer and local government to see what programs are available in your area.
What maintenance is required after installation?
Solar roofing systems are designed for durability and low maintenance. Regularly remove debris, inspect for visible damage, and monitor energy output. Professional inspections every few years help catch issues early.