


Addressing gaps and cracks in your attic is one of the most effective ways to improve your home’s energy efficiency. Many homeowners overlook the impact of small leaks in the attic, but these openings can allow conditioned air to escape and unconditioned air to enter, making your heating and cooling systems work harder. Learning how to seal attic air leaks can help you save on utility bills, maintain a more comfortable indoor environment, and even prolong the life of your HVAC system.
Before diving into the step-by-step process, it’s helpful to understand why attic air sealing is so important. Not only does it prevent unwanted drafts and temperature fluctuations, but it also supports other insulation efforts. For those interested in additional benefits, such as noise reduction, you may want to explore attic insulation for soundproofing as a complementary project.
Why Attic Air Sealing Matters
Many homes, especially older ones, have hidden gaps around plumbing vents, wiring holes, recessed lighting, and attic access points. These leaks can account for a significant portion of your home’s total air loss. By sealing these areas, you can:
- Reduce energy consumption by minimizing the workload on your HVAC system
- Improve indoor comfort by eliminating drafts and hot or cold spots
- Prevent moisture intrusion that can lead to mold or structural damage
- Enhance the performance of existing insulation
If your goal is to maximize efficiency and comfort, combining air sealing with proper insulation is essential. For more on this, see how how roof insulation improves comfort throughout the year.
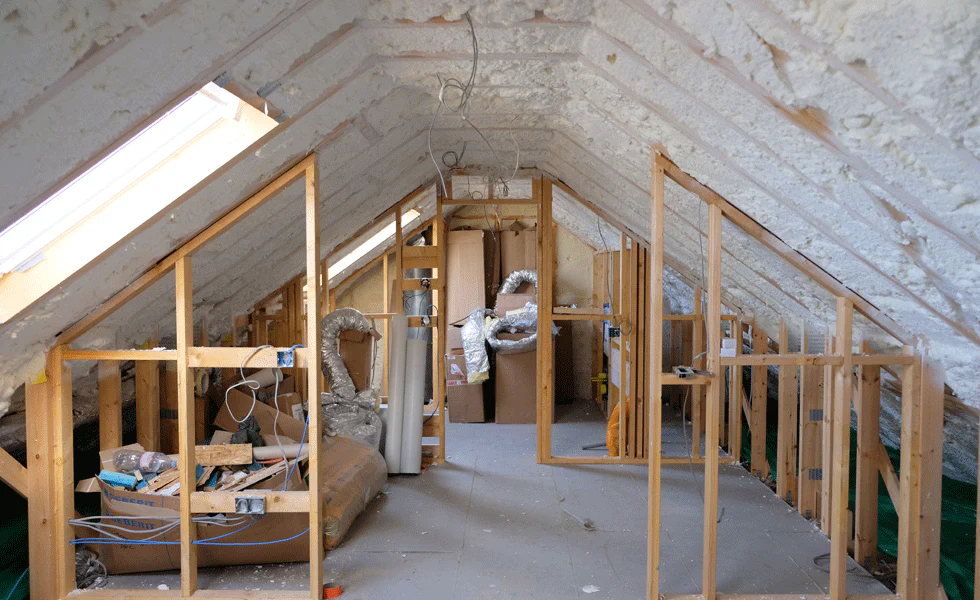
Identifying Common Sources of Attic Leaks
The first step in making your attic more efficient is to locate the most common sources of air leakage. Some of these areas are easy to spot, while others may require a closer inspection:
- Gaps around plumbing stacks and vent pipes
- Openings where electrical wires enter or exit the attic
- Spaces around recessed lighting fixtures (especially older, non-IC-rated cans)
- Attic hatch or pull-down stairs
- Chimney chases and flue openings
- Cracks along soffits, eaves, and top plates
On a cold day, you may be able to feel drafts or see insulation that has been disturbed by moving air. In some cases, using a smoke pencil or incense stick can help you visualize airflow. For a more thorough assessment, consider a professional energy audit with a blower door test.
Essential Tools and Materials for Sealing Attic Gaps
Before starting your project, gather the necessary tools and supplies. Having everything on hand will make the process smoother and safer. Here’s what you’ll typically need:
- Expanding spray foam (for larger gaps and around pipes/wires)
- Caulk (acrylic latex or silicone for smaller cracks)
- Weatherstripping (for attic hatches and access doors)
- Rigid foam board (to cover larger openings, such as soffits or chases)
- Utility knife and scissors
- Caulk gun
- Measuring tape
- Protective gear: gloves, goggles, dust mask, and knee pads
- Flashlight or headlamp for visibility
Step-by-Step Guide to Sealing Attic Air Leaks
Once you’ve identified problem areas and gathered your supplies, follow these steps to address leaks and improve efficiency:
- Clear the Work Area: Move insulation aside to expose the attic floor and any penetrations. Take care not to compress or damage the insulation, as this can reduce its effectiveness.
- Seal Small Gaps and Cracks: Use caulk to fill narrow gaps (less than 1/4 inch) around wiring, plumbing, and framing joints. Smooth the bead with a gloved finger for a tight seal.
- Fill Larger Openings: For wider gaps (up to 3 inches), apply expanding spray foam. Be cautious not to overfill, as the foam will expand and could push insulation out of place.
- Address Attic Access Points: Install weatherstripping around the attic hatch or door. For pull-down stairs, consider an insulated cover or box to reduce air movement.
- Cover Soffits and Chases: Use rigid foam board cut to size and seal the edges with spray foam or caulk. This is especially important around chimneys, but maintain proper clearance from flues for fire safety.
- Replace Insulation: Once all gaps are sealed and materials have cured, gently replace insulation over the sealed areas. If your insulation is insufficient, consider topping it up for added efficiency.
For a more detailed look at improving attic insulation and minimizing heat loss, check out how to prevent attic heat loss with proper insulation techniques.

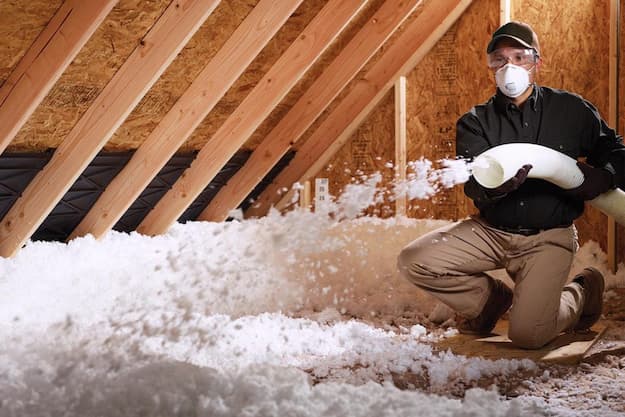
Tips for Safe and Effective Attic Work
Working in the attic can be challenging, especially if space is tight or temperatures are extreme. Keep these safety and efficiency tips in mind:
- Always wear protective gear to avoid irritation from insulation and dust.
- Work during cooler times of day to prevent overheating.
- Use sturdy boards to create walkways and avoid stepping between joists, which can damage ceilings below.
- Be cautious around electrical wiring and fixtures. If unsure, consult a professional.
- Ensure proper ventilation to avoid trapping moisture in the attic.
Remember, sealing attic gaps is just one part of a comprehensive approach to home energy efficiency. Upgrading insulation and understanding how attic insulation works with HVAC systems can further enhance your results.
Maintaining Your Sealed Attic for Long-Term Efficiency
After completing your air sealing project, periodic checks are important to maintain performance. Over time, building movement, settling, or new work (like electrical upgrades) can create new gaps. Inspect your attic at least once a year, especially before extreme weather seasons, and reseal any new openings as needed.
If you notice persistent drafts or temperature swings, it may be time to reassess your attic’s insulation and air barrier. For more strategies on keeping your home comfortable and draft-free, see how attic insulation reduces drafts.
Frequently Asked Questions
What are the signs that my attic has air leaks?
Common indicators include uneven temperatures in your home, higher than expected energy bills, visible gaps around pipes or wiring, and insulation that appears dirty or disturbed from airflow. You may also feel drafts near attic access points or notice ice dams forming on the roof in winter.
Can I seal attic air leaks myself, or should I hire a professional?
Many homeowners can tackle basic attic air sealing with the right tools and safety precautions. However, if your attic is difficult to access, has extensive wiring or HVAC components, or you’re unsure about fire safety near chimneys, it’s wise to consult an experienced contractor.
How does sealing attic leaks affect my home’s insulation?
Sealing gaps and cracks enhances the effectiveness of your insulation by preventing air movement that can bypass or degrade its performance. This means your insulation can better maintain desired temperatures, leading to improved comfort and lower energy costs.


