


Properly assessing the thickness of your attic insulation is an essential step toward maintaining energy efficiency and comfort in your home. Many homeowners overlook this simple check, but understanding the depth and condition of what’s above your ceiling can help you identify heat loss, reduce energy bills, and improve indoor air quality. Whether you’re planning an upgrade or just want to ensure your current setup is performing well, learning the right way to measure insulation thickness is key.
In this article, we’ll walk through the most effective methods for evaluating attic insulation depth, highlight what the measurements mean for your home’s efficiency, and provide practical tips for getting accurate results. You’ll also find guidance on interpreting your findings and what to do if your insulation falls short of recommended standards.
For a deeper understanding of how insulation thickness relates to energy savings, you might want to read attic insulation R-value explained, which covers how insulation performance is measured and why it matters for your home.
Why Measuring Attic Insulation Depth Matters
The thickness of insulation in your attic directly impacts your home’s ability to retain heat in winter and stay cool in summer. Insufficient or uneven insulation can lead to higher energy costs, uncomfortable temperature swings, and even moisture issues. By checking attic insulation thickness regularly, you ensure your home meets recommended standards and performs efficiently year-round.
- Energy Efficiency: Thicker insulation generally means better resistance to heat flow, which translates to lower heating and cooling expenses.
- Comfort: Adequate insulation helps maintain consistent indoor temperatures.
- Longevity: Regular checks can reveal moisture damage, settling, or pest issues before they become major problems.
Tools and Safety Precautions for Attic Inspections
Before you begin, gather the necessary tools and take safety seriously. Attics can be dusty, cramped, and sometimes hazardous.
- Measuring Tape or Ruler: A rigid ruler or tape measure is best for precise readings.
- Flashlight or Headlamp: Good lighting is essential for visibility.
- Protective Gear: Wear gloves, a dust mask, and long sleeves to avoid irritation from insulation fibers.
- Stable Footing: Use sturdy boards to walk on joists and avoid stepping between them, as drywall ceilings are not designed to support weight.

Step-by-Step Guide: How to Measure Insulation Thickness in Your Attic
Follow these steps to accurately determine the depth of your attic insulation:
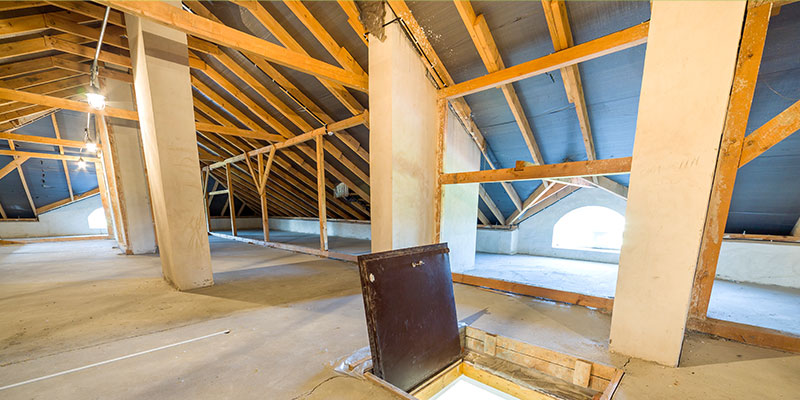
- Access the Attic Safely: Enter through the attic hatch or access door. Use a ladder if necessary, and ensure stable footing.
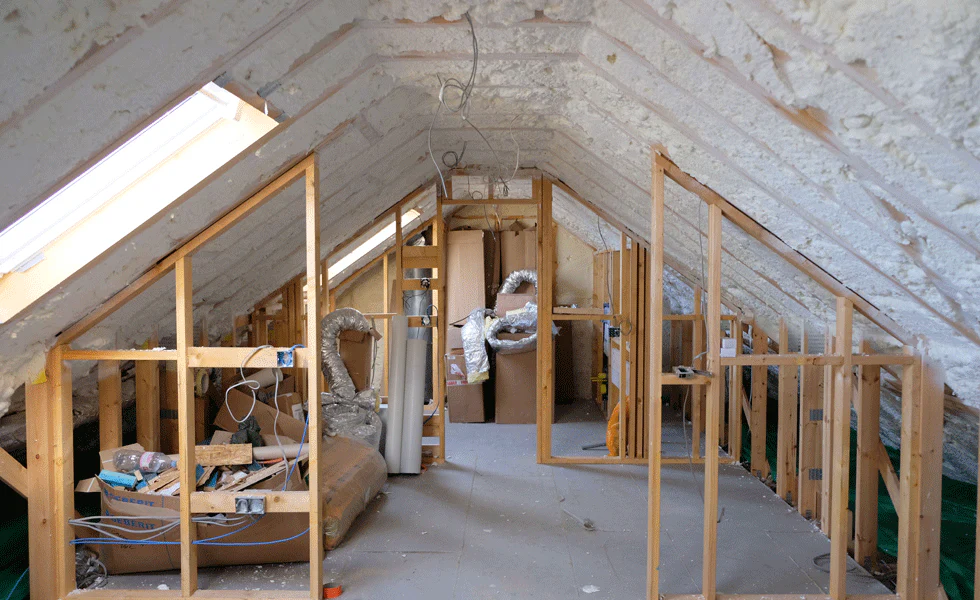
- Locate the Insulation: Identify the type of insulation present—commonly fiberglass batts, blown-in cellulose, or spray foam. Each type may require a slightly different approach.
- Insert the Measuring Tool: Push your ruler or tape measure straight down through the insulation until it touches the attic floor or ceiling joist.
- Read the Measurement: Note the depth in inches at several locations throughout the attic, especially in areas farthest from the hatch and near exterior walls.
- Record and Compare: Write down your measurements and compare them to recommended standards for your climate zone.
For homes with spray foam or rigid board insulation, thickness may be more uniform but still requires checking for consistency and coverage.
Understanding Your Results: What Thickness Is Enough?
The recommended insulation depth varies by region and insulation type. In general, most U.S. homes benefit from attic insulation that provides an R-value between R-38 and R-60, which usually translates to:
- Fiberglass batts: 12–18 inches
- Blown-in cellulose: 10–16 inches
- Spray foam: 6–10 inches (closed cell)
If your measurements fall below these ranges, your home may be losing valuable energy. Adding more insulation can help you save on heating and cooling costs and improve comfort.
Common Issues Found During Attic Insulation Checks
When you inspect attic insulation thickness, you may notice a few typical problems:
- Settling or Compression: Over time, loose-fill insulation can settle, reducing its effectiveness.
- Gaps and Voids: Areas with missing or thin insulation can create cold spots and reduce overall efficiency.
- Moisture Damage: Wet or moldy insulation should be replaced promptly to prevent further issues.
- Pest Intrusion: Rodents or insects can disturb insulation, leading to uneven coverage.
Addressing these issues promptly ensures your attic continues to provide the protection your home needs.
Tips for Improving Attic Insulation Performance
If your attic insulation is lacking, consider these practical steps:
- Add More Insulation: Top up existing layers to reach the recommended depth for your region.
- Seal Air Leaks: Use caulk or spray foam to seal gaps around pipes, vents, and wiring.
- Check for Proper Ventilation: Good airflow prevents moisture buildup and extends insulation life. For more information, see how to ventilate an attic.
- Choose the Right Material: Not sure which insulation is best? Learn about the difference between fiberglass and spray foam insulation to make an informed decision.
When to Call a Professional
While many homeowners are comfortable performing a basic inspection, some situations call for expert help. If you discover extensive moisture damage, mold, or signs of pests, or if your attic is difficult to access, a professional insulation contractor can provide a thorough assessment and recommend the best solutions.
Additionally, if you’re considering a major upgrade or want to maximize energy savings, a pro can help you select the right materials and ensure proper installation.
FAQ: Attic Insulation Thickness and Home Efficiency
How often should I check the insulation in my attic?
It’s a good idea to inspect your attic insulation every few years, or after any major home renovations, roof repairs, or severe weather events. Regular checks help catch issues early and maintain optimal efficiency.
What’s the easiest way to tell if my attic insulation is sufficient?
Measure the depth in several spots and compare your findings to the recommended thickness for your region and insulation type. If you can see the attic joists clearly above the insulation, it’s likely time to add more.
Can adding more insulation really lower my energy bills?
Yes, increasing attic insulation to the recommended level can significantly reduce heating and cooling costs by minimizing heat loss in winter and heat gain in summer. For more on this topic, see how roof insulation affects heating costs and how roof insulation affects cooling costs.
Is there a difference in how I should measure spray foam versus fiberglass insulation?
Yes. Spray foam is usually more rigid and uniform, so you can measure its depth directly. Fiberglass and blown-in types may be uneven, so take multiple readings and average them for accuracy.
By following these steps and recommendations, you can ensure your attic insulation is up to standard, helping your home stay comfortable and energy efficient throughout the year.


