Improving your home’s energy efficiency often starts in the attic. Many homeowners overlook this critical space, but the right insulation can make a significant difference in comfort and utility bills. Conducting an attic insulation energy audit is a practical way to assess your current setup, identify inefficiencies, and plan improvements that will pay off year-round. This guide walks you through the essential steps, what to look for, and how to interpret your findings so you can make informed decisions about your home’s energy use.
Before diving into the process, it’s helpful to understand how attic insulation interacts with other parts of your home. For a deeper look at related topics, such as roof insulation and moisture control, you can explore further resources to complement your audit.
Why Assessing Attic Insulation Matters
The attic is a major pathway for heat loss in winter and heat gain in summer. If insulation is lacking, damaged, or improperly installed, your HVAC system must work harder to maintain comfortable temperatures. This not only increases energy consumption but also leads to higher utility bills and potential comfort issues throughout your home.
An energy audit focused on attic insulation helps you pinpoint problem areas, such as thin spots, air leaks, or moisture buildup. By identifying these issues early, you can address them before they lead to more serious problems like mold growth or structural damage.
Preparing for an Insulation Audit in the Attic
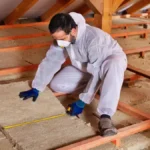
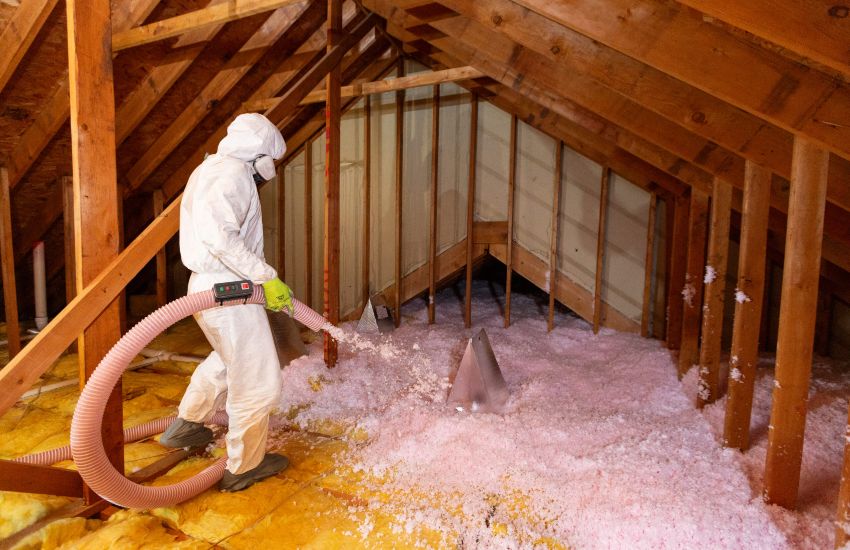
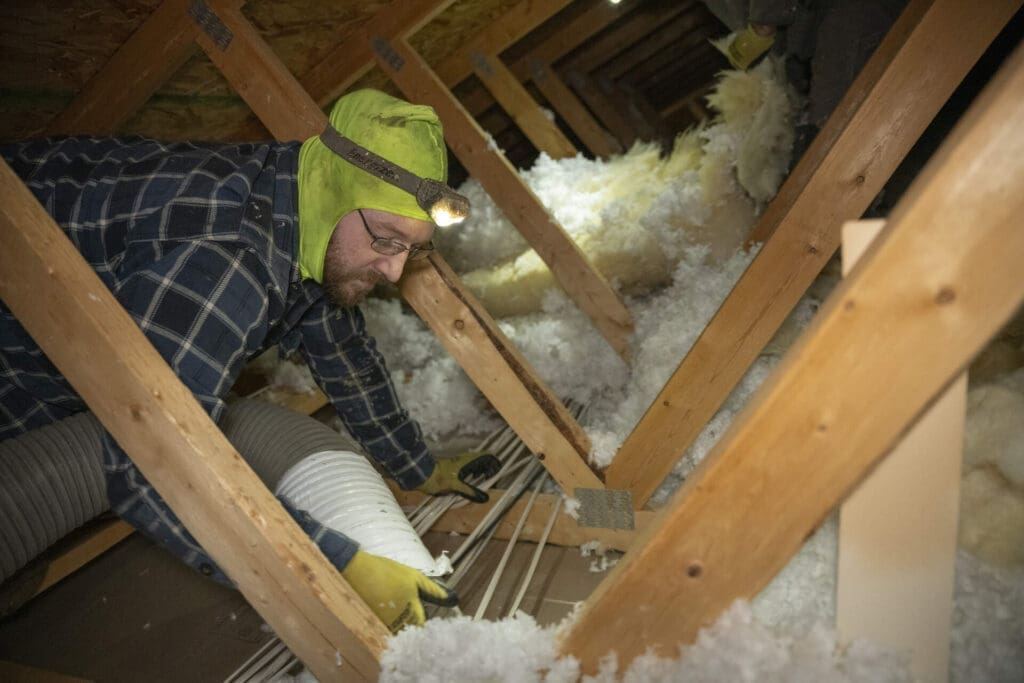
Before starting, gather basic safety gear: gloves, a dust mask, safety glasses, and a flashlight. Wear long sleeves and pants, as insulation materials can irritate skin. If your attic has limited flooring, use a sturdy board to avoid stepping through the ceiling.
Make sure to check the weather forecast. Choose a cool, dry day for your inspection, as attics can become dangerously hot in summer or slippery in damp conditions.
Step-by-Step Guide to Inspecting Attic Insulation
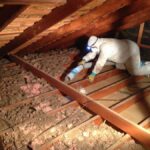
1. Visual Inspection of Insulation Coverage
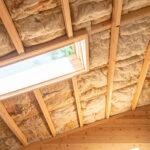
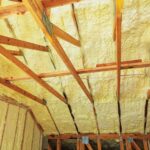
Begin by visually examining the entire attic floor. Look for areas where insulation is missing, compressed, or unevenly distributed. Note the type of insulation present—common materials include fiberglass batts, blown-in cellulose, or spray foam.

Pay special attention to corners, eaves, and around attic hatches. These spots are often overlooked and may have inadequate insulation, leading to energy loss.
2. Measuring Insulation Depth and R-Value
Use a ruler or tape measure to check the depth of insulation in several locations. Compare your measurements to recommended R-values for your climate zone. In most regions, the U.S. Department of Energy suggests an attic R-value between R-38 and R-60.
If your insulation falls short of these guidelines, adding more material can significantly improve your home’s thermal performance.
3. Identifying Air Leaks and Drafts
Even with adequate insulation, air leaks can undermine energy efficiency. Look for gaps around plumbing vents, electrical wiring, light fixtures, and attic access points. You may feel drafts or see daylight peeking through cracks.
Sealing these leaks with caulk or expanding foam is a simple but effective way to reduce unwanted airflow and boost the effectiveness of your insulation.
4. Checking for Moisture and Mold Issues
Moisture problems can damage insulation and promote mold growth. Inspect for signs of water stains, dampness, or musty odors. Pay attention to areas near roof penetrations and under vents.
If you discover moisture issues, address the source before upgrading insulation. Proper attic ventilation and roof repairs may be necessary to prevent future problems.
Tools and Techniques for a Thorough Audit
While a basic inspection can reveal many issues, some homeowners choose to use specialized tools for a more detailed assessment. Infrared thermometers or thermal imaging cameras can help detect hidden cold spots and air leaks. Smoke pencils or incense sticks are useful for tracing airflow around potential leak points.
If you’re unsure about your findings or want a professional opinion, consider hiring a certified energy auditor. They can perform a blower door test and use advanced equipment to provide a comprehensive report.
Interpreting Results and Planning Improvements
After completing your attic review, summarize your observations. List areas with insufficient insulation, note any air leaks, and document signs of moisture. Use this information to prioritize upgrades.
- Add insulation where coverage is thin or missing, matching the recommended R-value for your region.
- Seal air leaks with caulk, weatherstripping, or spray foam.
- Address moisture by improving ventilation or repairing roof leaks before adding new insulation.
For more targeted advice based on your climate, you may want to explore resources on roof insulation for hot climates or roof insulation for cold climates.
Benefits of a Well-Insulated Attic
Upgrading your attic insulation after an audit can lead to several advantages:
- Lower energy bills due to reduced heating and cooling needs.
- Improved indoor comfort with fewer drafts and more consistent temperatures.
- Extended HVAC lifespan as your system operates more efficiently.
- Reduced risk of moisture problems and mold growth.
- Increased home value thanks to better energy performance.
For those focused on maximizing efficiency, learning more about roof insulation for energy efficiency can provide additional strategies beyond the attic.
Common Mistakes to Avoid During Your Audit
While inspecting your attic, avoid compressing insulation by walking or storing items on it, as this reduces effectiveness. Don’t overlook small gaps or assume that all insulation is performing as intended. Always address moisture issues before adding more material, and ensure that soffit vents remain unobstructed to maintain proper airflow.
If you’re unsure about any aspect of your audit, consult a professional. They can help you avoid costly errors and ensure your upgrades deliver the best results.
FAQ
How often should I check my attic insulation?
It’s a good idea to inspect your attic insulation every few years, or after major weather events, roof repairs, or signs of changing energy bills. Regular checks help catch issues early and keep your home efficient.
Can I perform an attic insulation check myself, or do I need a professional?
Many homeowners can handle a basic inspection with the right safety precautions. However, for a detailed assessment or if you suspect major issues, hiring a professional energy auditor is recommended.
What are signs that my attic insulation needs improvement?
Common indicators include uneven temperatures between floors, high energy bills, drafts, visible gaps or thin spots in insulation, and signs of moisture or mold in the attic.
Is it necessary to remove old insulation before adding new material?
Not always. If the existing insulation is dry, mold-free, and in good condition, you can often add new material on top. However, if you find wet, moldy, or damaged insulation, it should be removed and the source of the problem addressed before adding more.
How does attic insulation relate to condensation issues?
Proper insulation, combined with effective ventilation, helps prevent condensation by keeping warm, moist air from reaching cold surfaces in the attic. For more on this, see the guide on roof insulation and condensation prevention.